I decided to go through the stitching drawer to see how many smaller finishes might be in there that I could attempt to fully finish. There are a lot more than I thought so I pulled them out and put them in a smaller container. I selected five of them to work on. Four of them were by Blackbird Designs and one was a free Christmas Bonus Chart from the Linens and Threads Mystery Sampler for 2020.
I selected the backing fabric for each one and ironed on light weight interfacing to the front stitched piece and backing fabric. Since my eyesight is poor, I decided to mark the stitching lines on the back of the stitched piece to make it easier for me to sew.
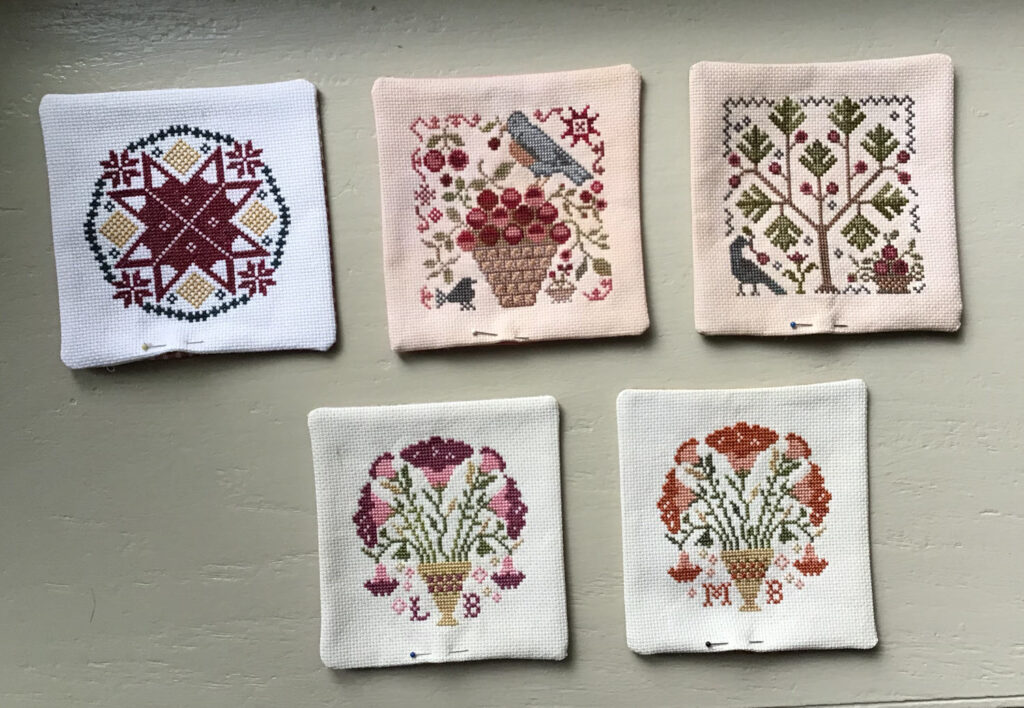
Bottom Row: Both are Coxcomb Bouquet
Once they were all stitched together, I stuffed them with polyester fiberfill. I found the corners particularly hard to get the stuffing to stay put. I closed the bottoms with a slip stitch but next time I will try the Ladder Stitch. Sorry, no photo of that stage.
Next it was time to select the trims I wanted to use. I am very fond of the ruched ribbon trim and had used it once before on an earlier ornament so decided to try that for at least a couple of them. Vonna Pfeiffer, The Twisted Stitcher, has an excellent tutorial HOW TO: Rusche Ribbon.
I had some chenille trims from Lady Dot Creates that I also decided to try. While it turned out OK, I think this was a thinner chenille trim and even doubled and twisted it looked skimpy.
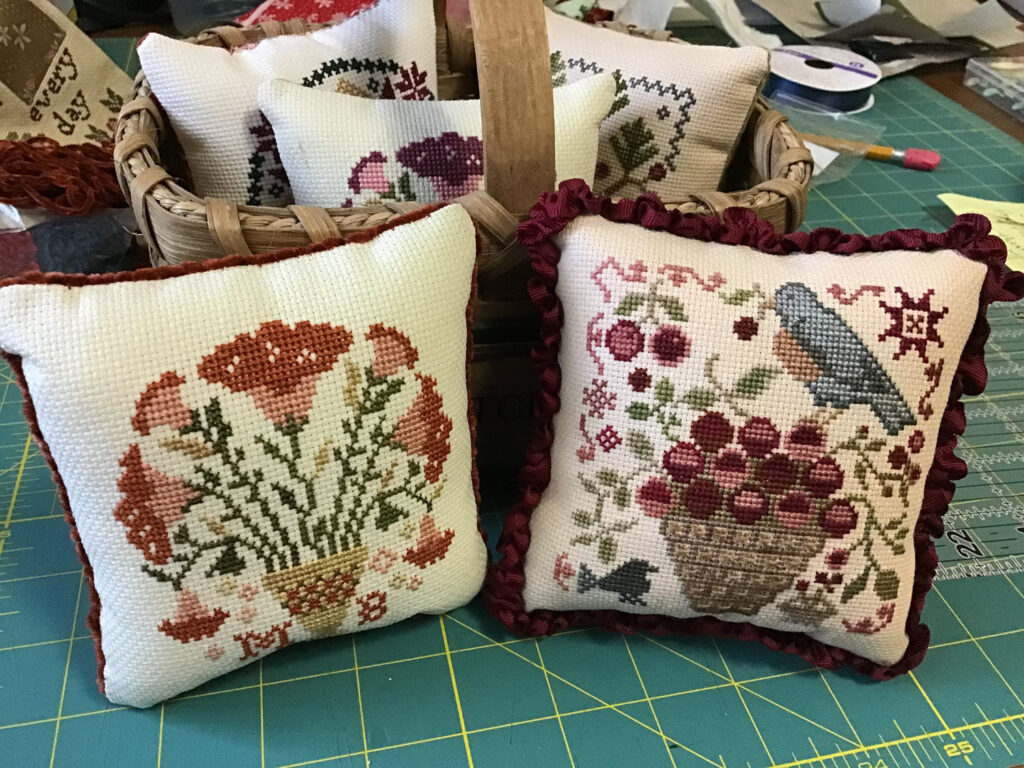
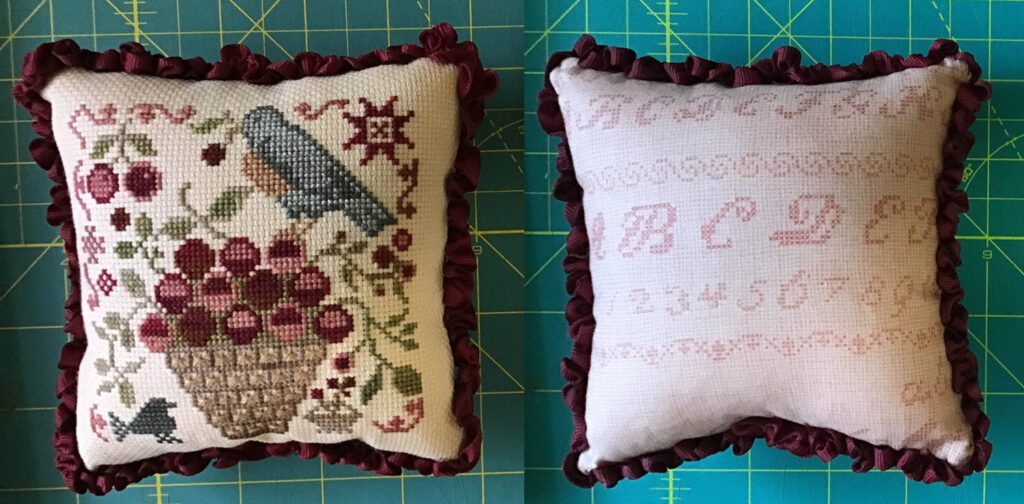
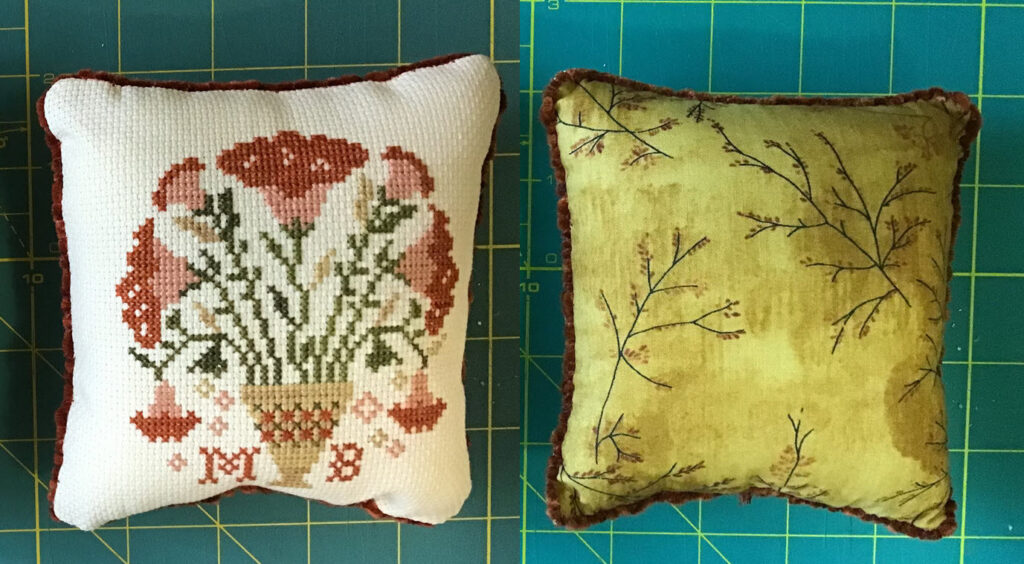
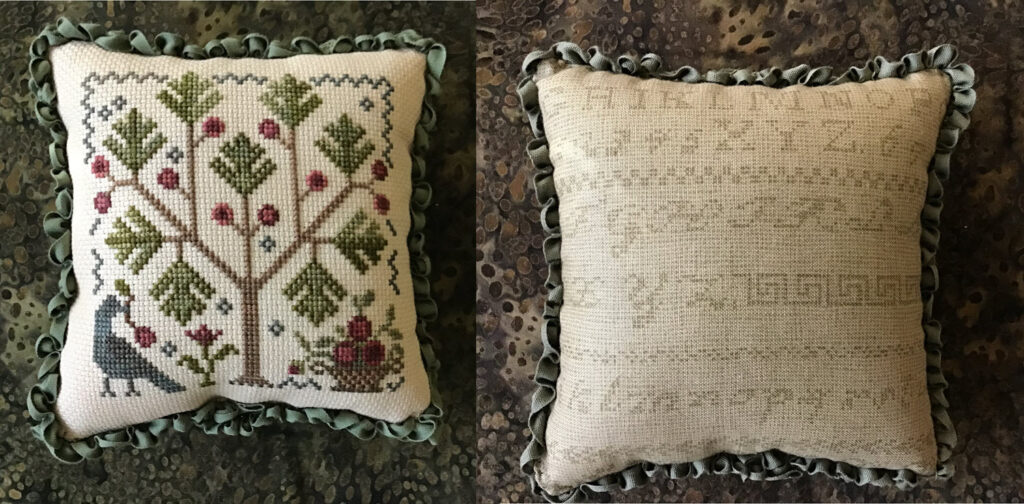
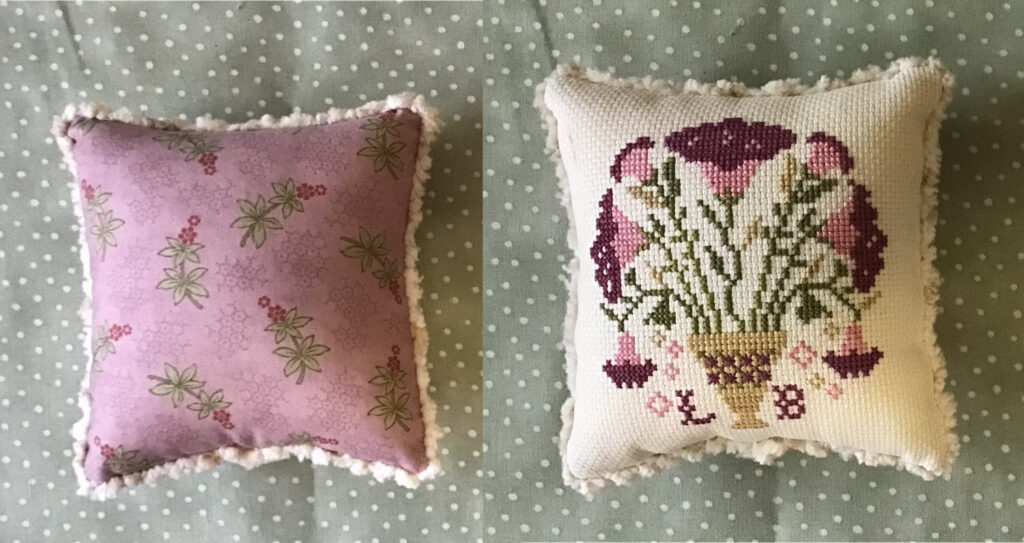
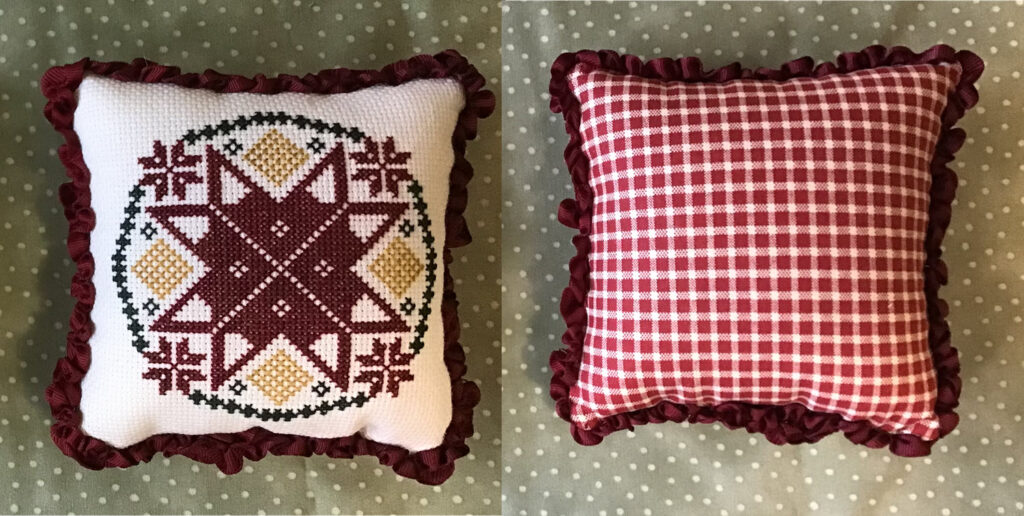
And as you can see, the basket will not hold them all so I need to get a bigger one. I have three of this size all filled with smalls.
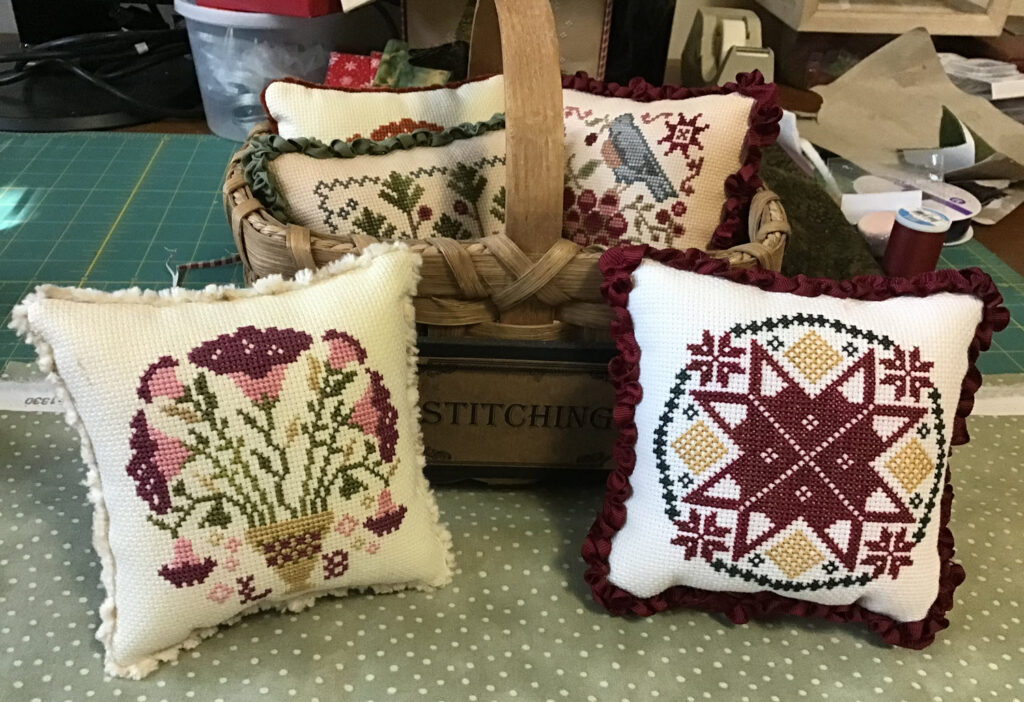
What beautiful little smalls you created, Pat! One of my stitching pals has been using a bulky yarn (looks like chenille) that she found at Hobby Lobby or Joann Fabrics. Just a thought when you said the chenille was kind of skimpy.