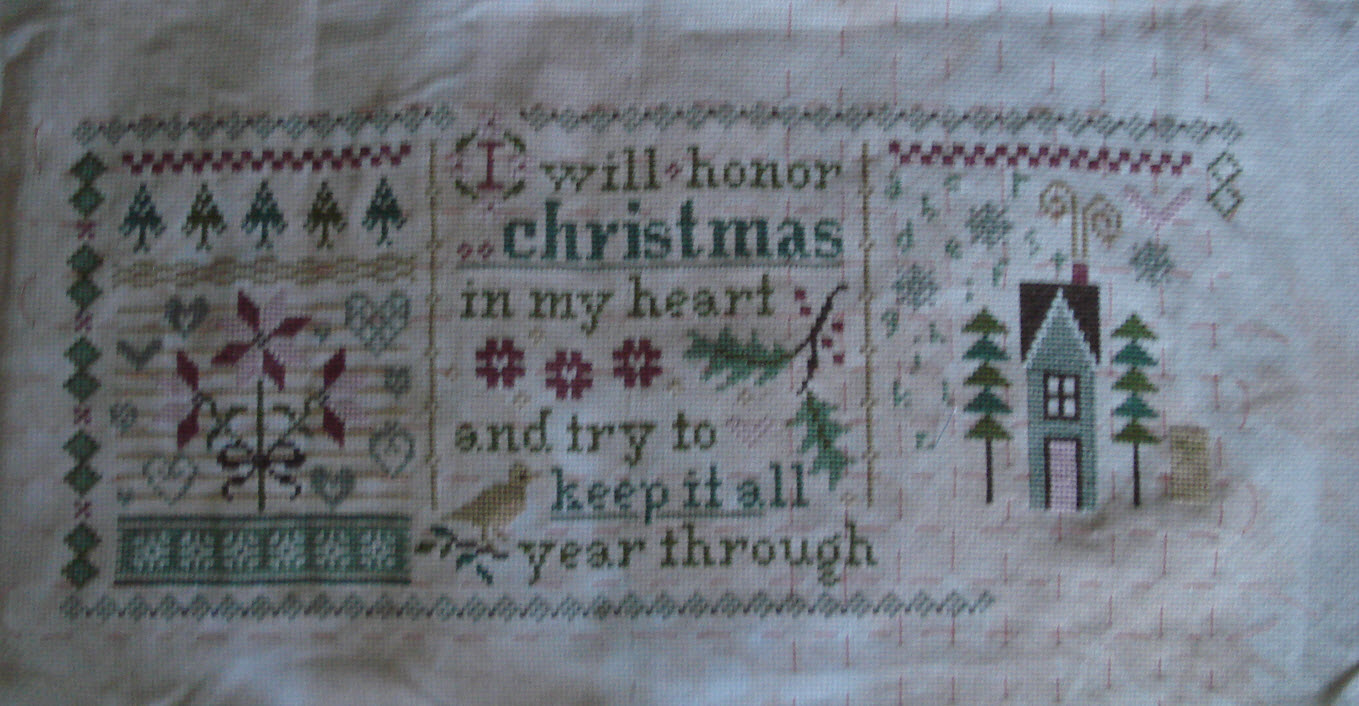
Someone on the 123Stitch Message Board recently posted the Loose Feathers Summer, Autumn, and Winter by Blackbird Designs as a WIP’s. I saw it and wanted to stitch it so went looking for the charts. I was lucky enough to be able to purchase the three separate charts from another board member. You can see the completed piece on the back of the Winter chart. It is the one pictured at the bottom left of the chart.

I choose a piece of 28 count cream Monaco that was large enough and that I already had as my fabric and thought about using DMC floss for the project since that is what I have on hand. After some discussion, I decided to go ahead and purchase the recommended Gentle Arts Sampler Threads and Crescent Colors thread. Crescent Colors is now known as Classic Colorworks.
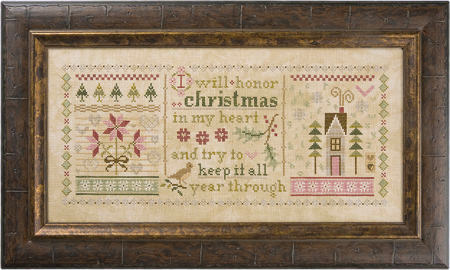
Stitch Count: 222w x137h
Design Size: 15 7/8 x 9 3/4 (28/14ct)
Fabric Size: 22 1/2 x 16 1/2 (28/14ct)
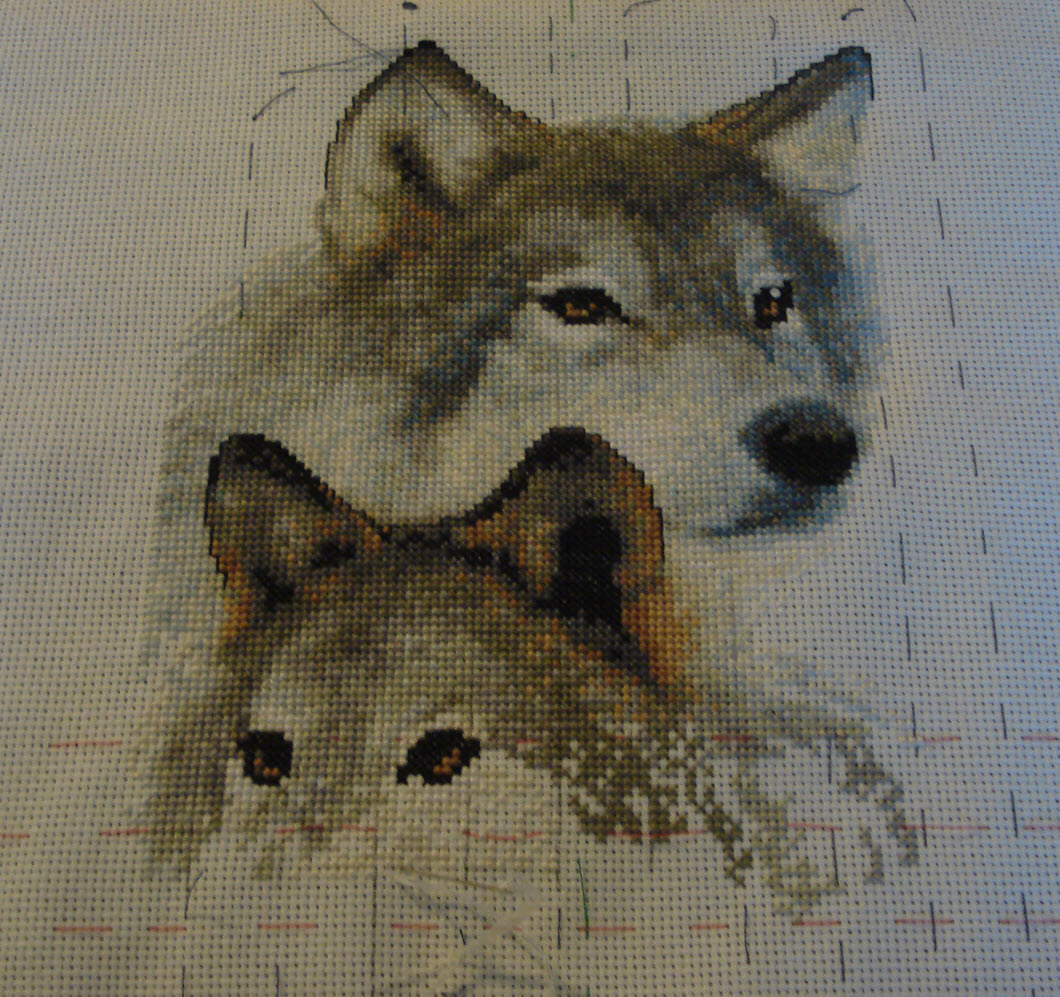
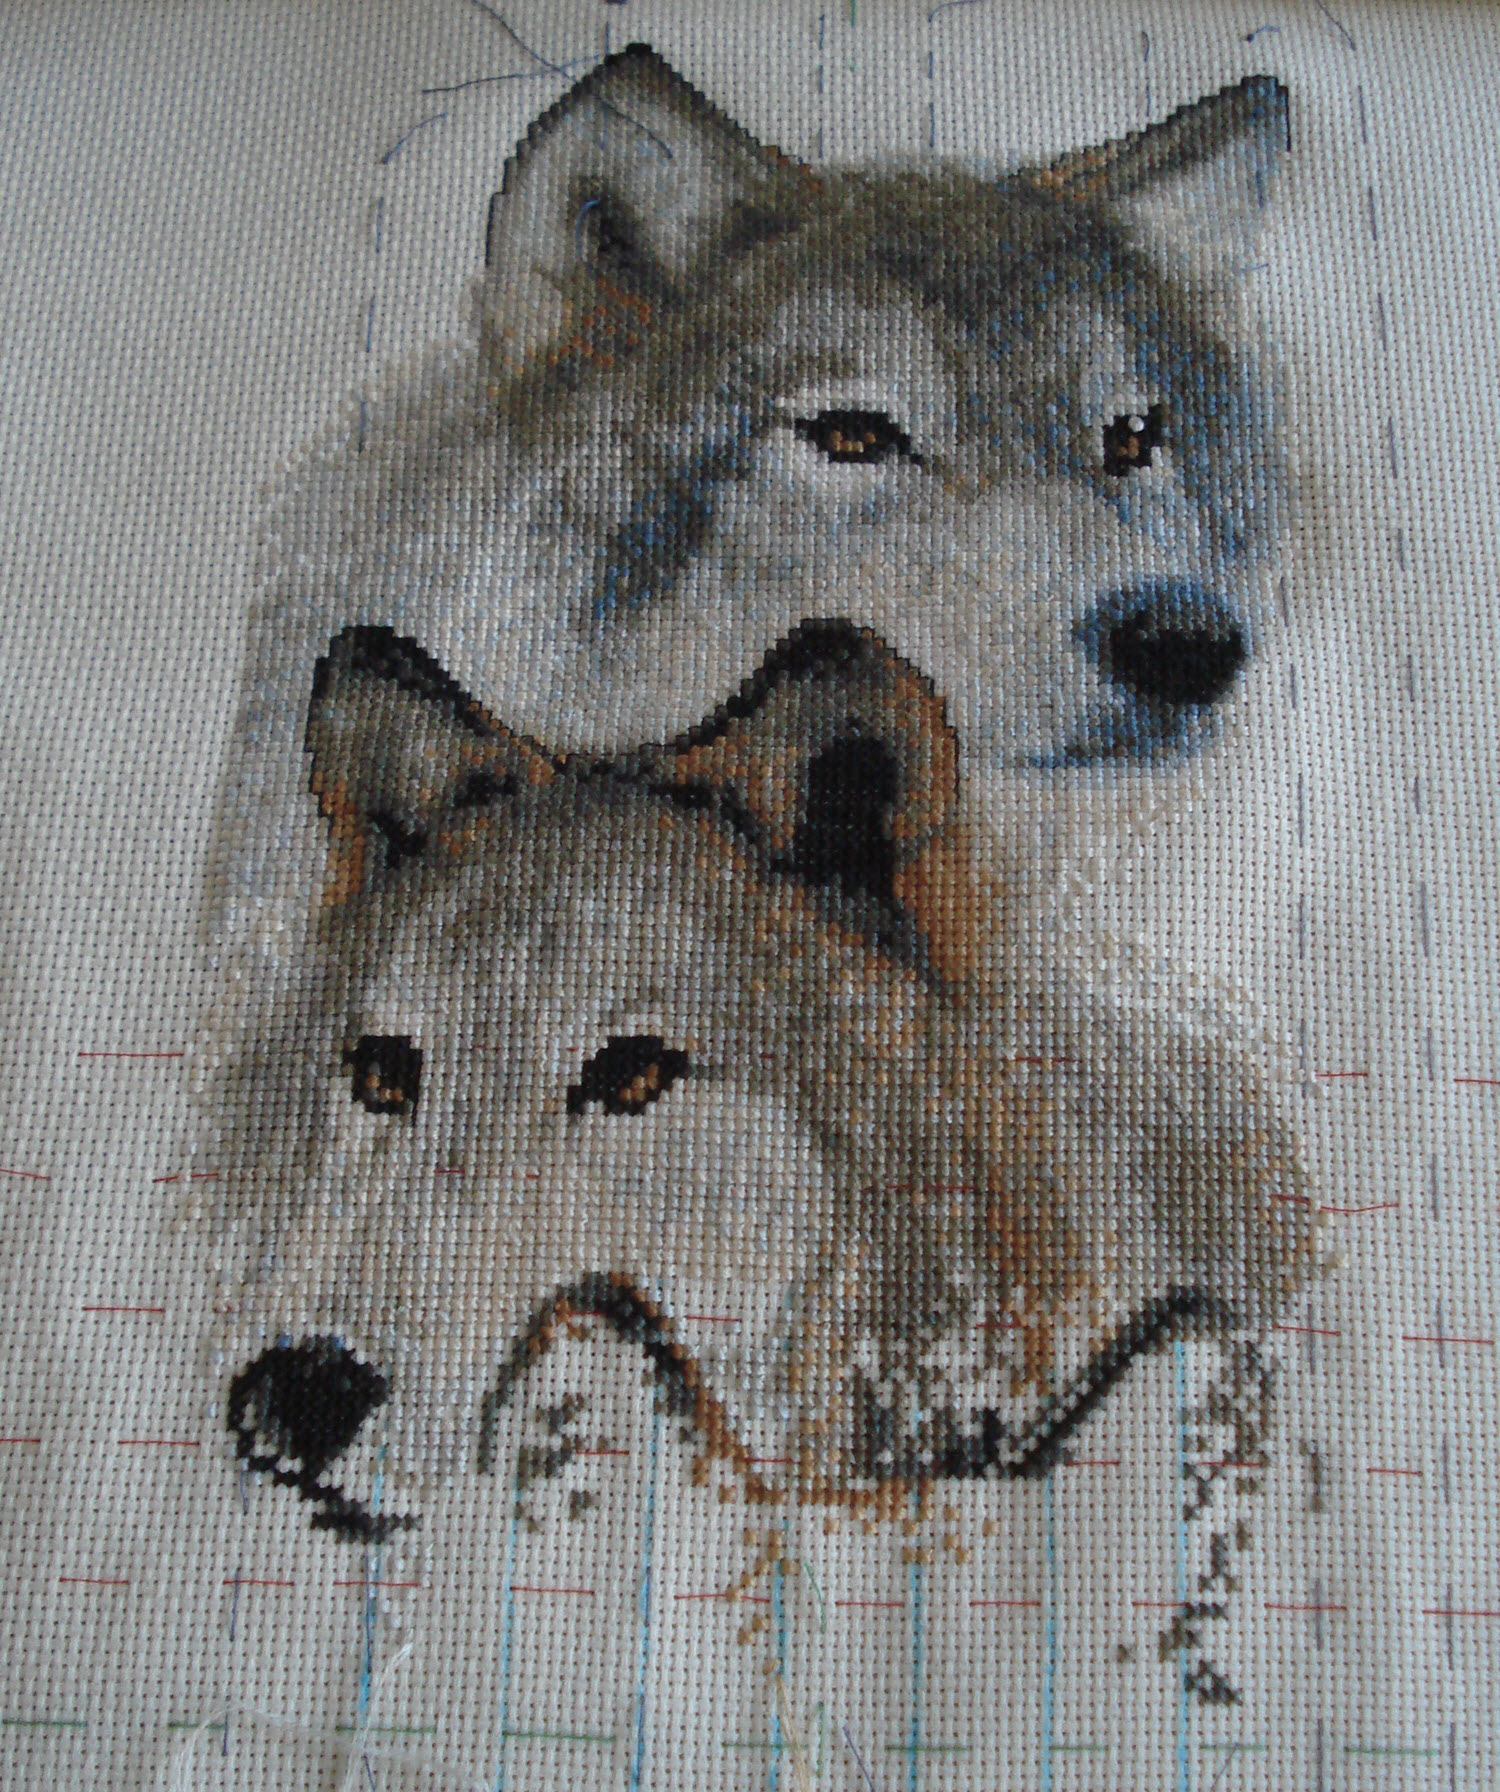
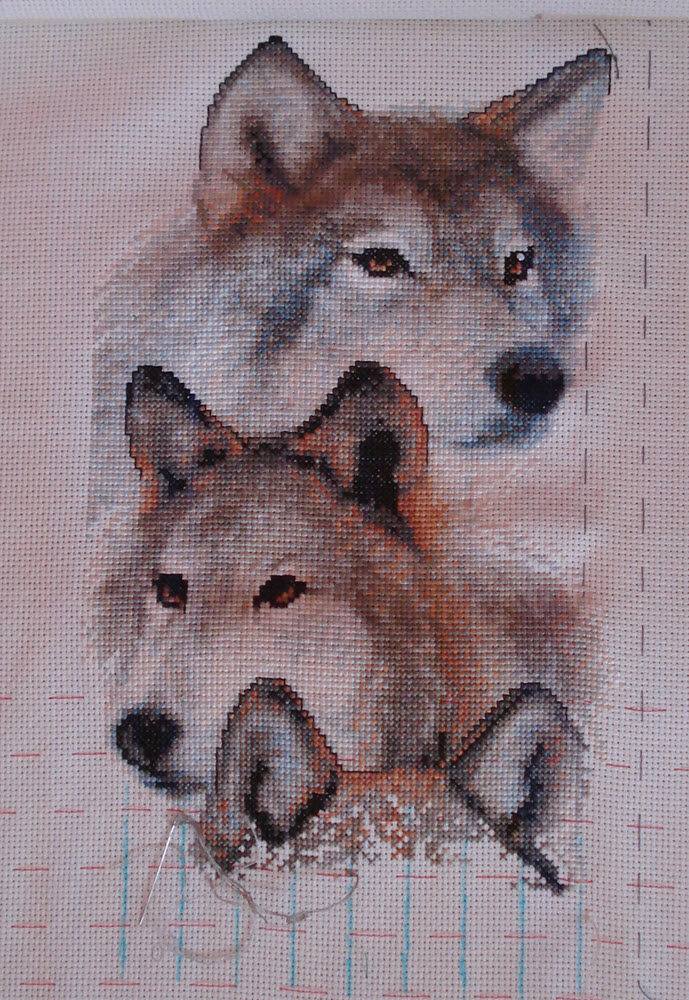
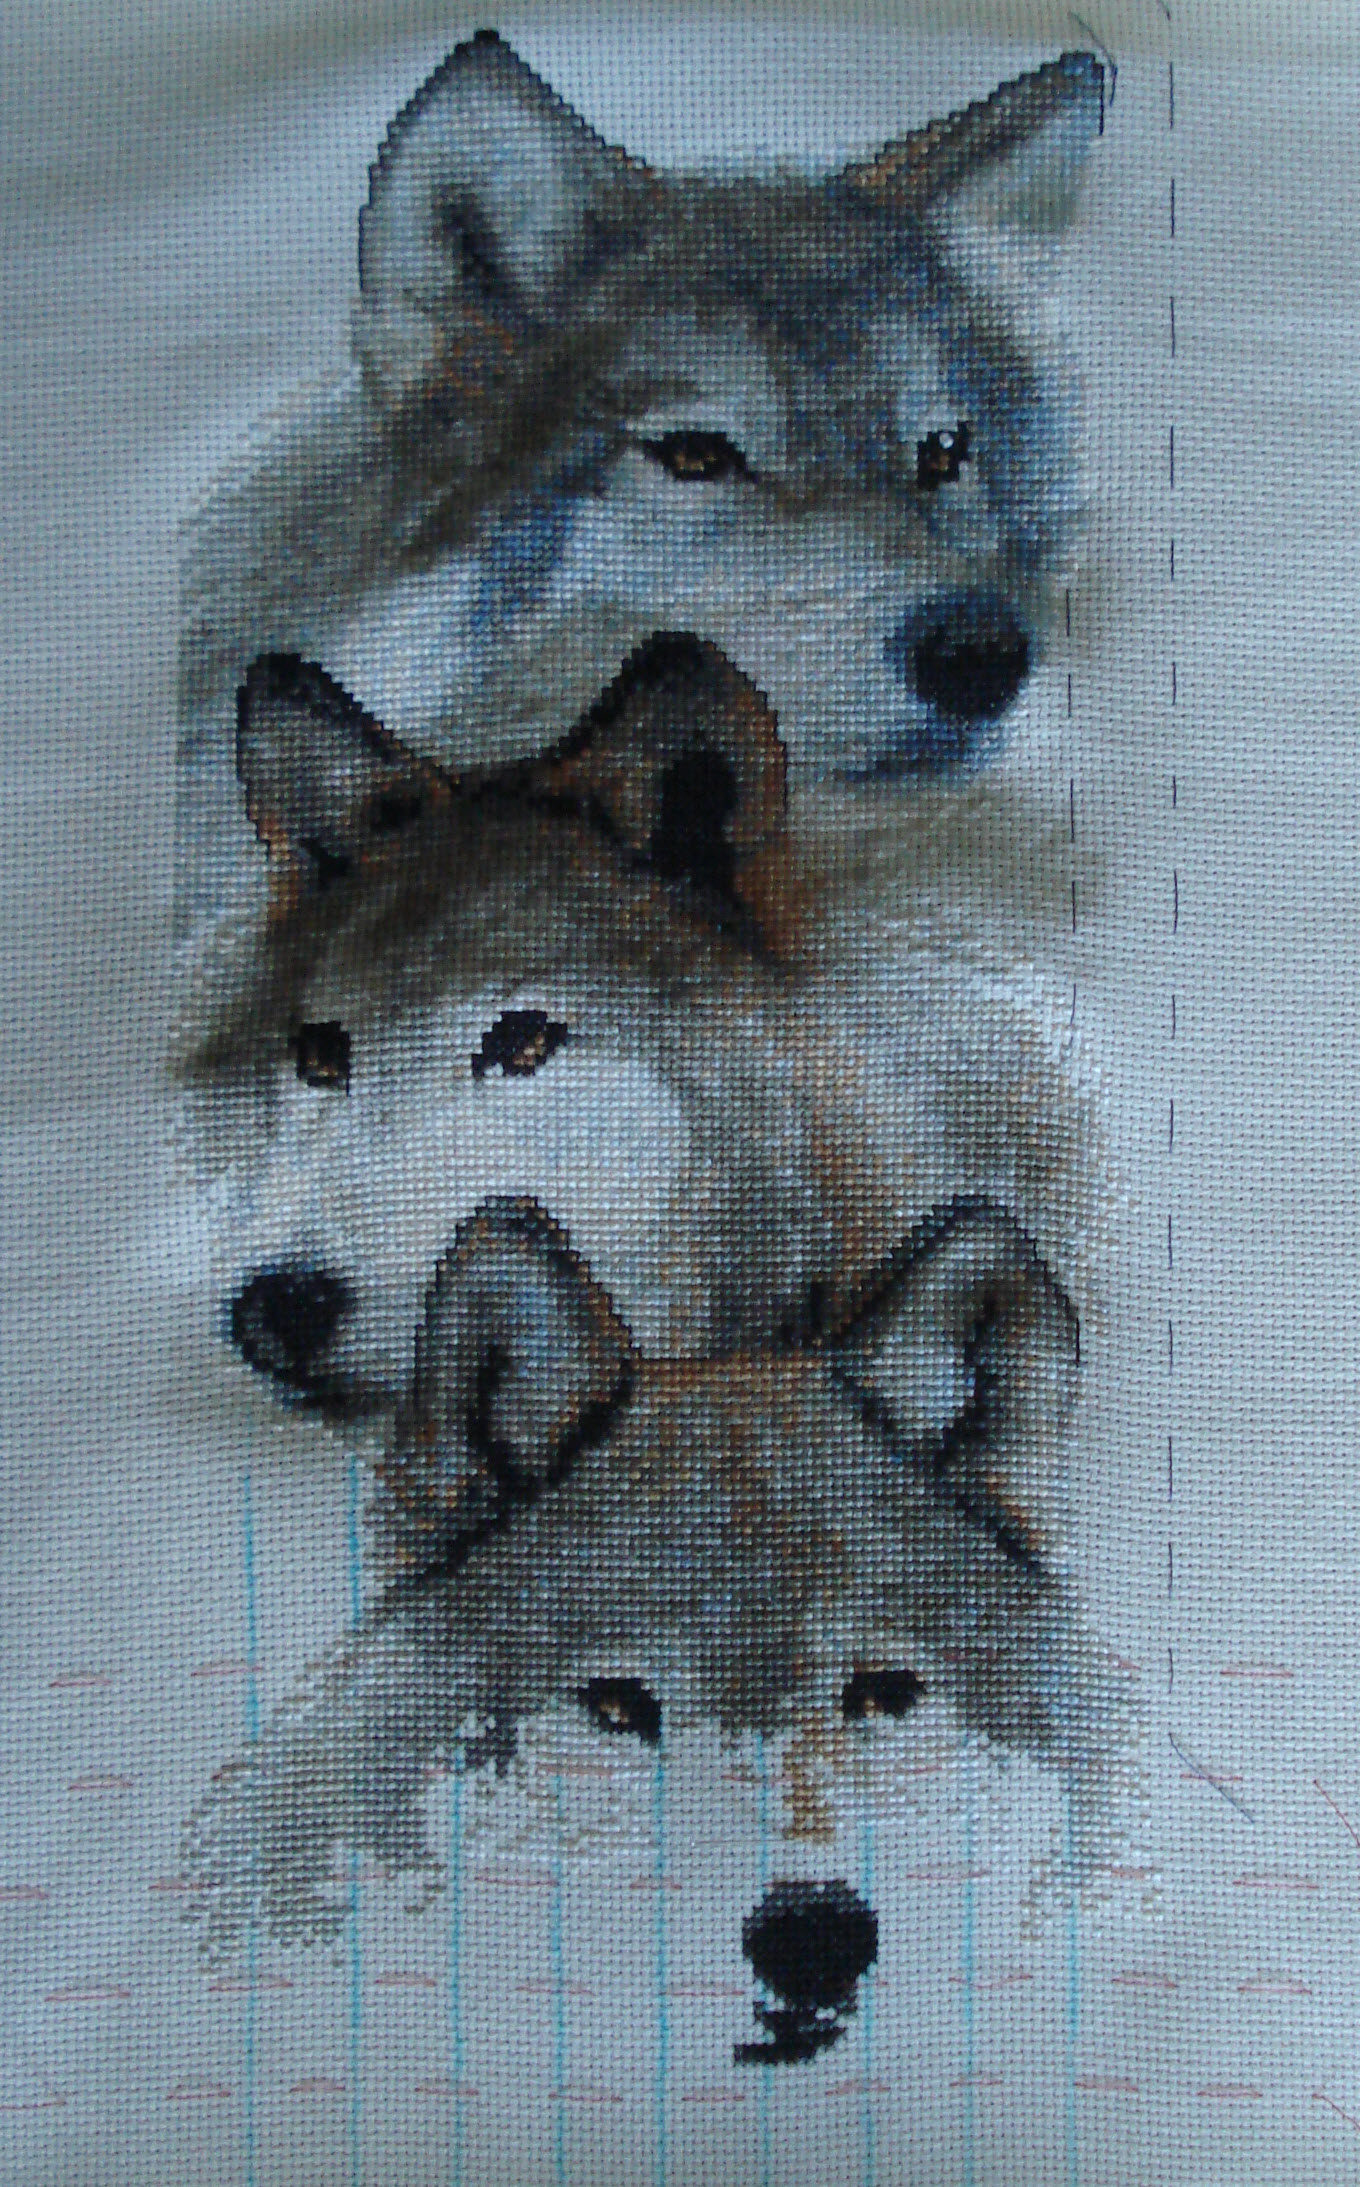
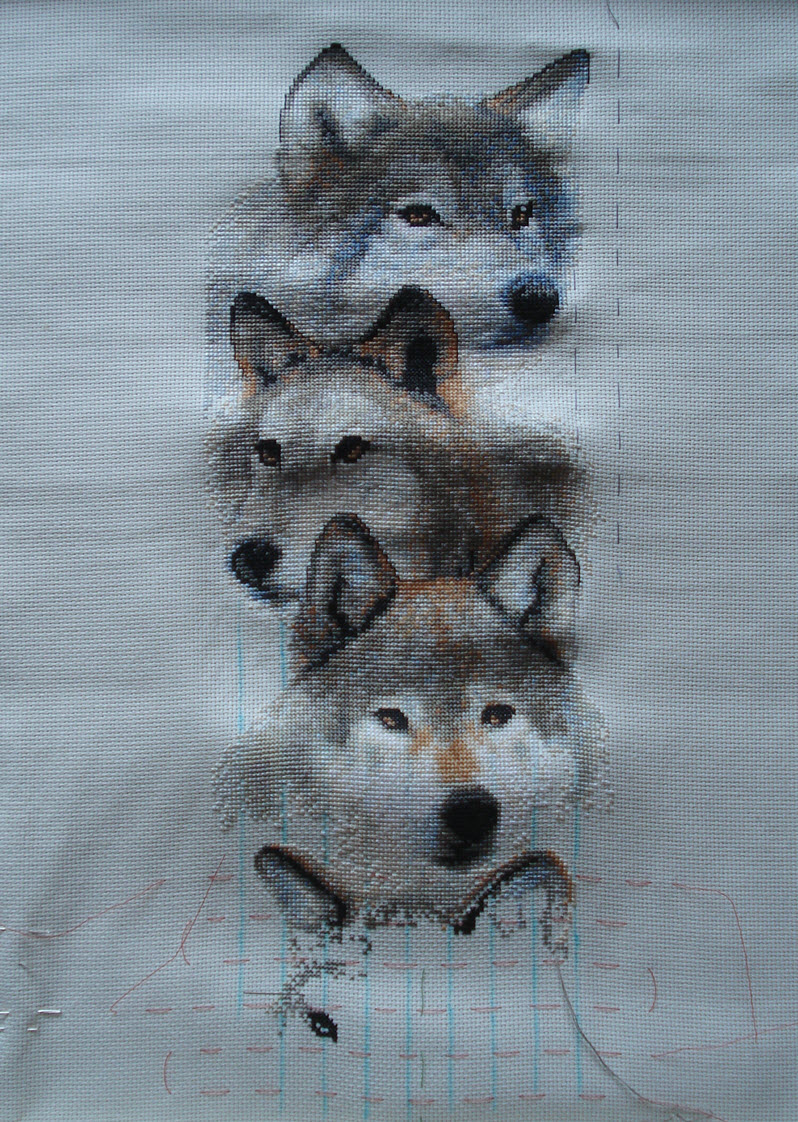
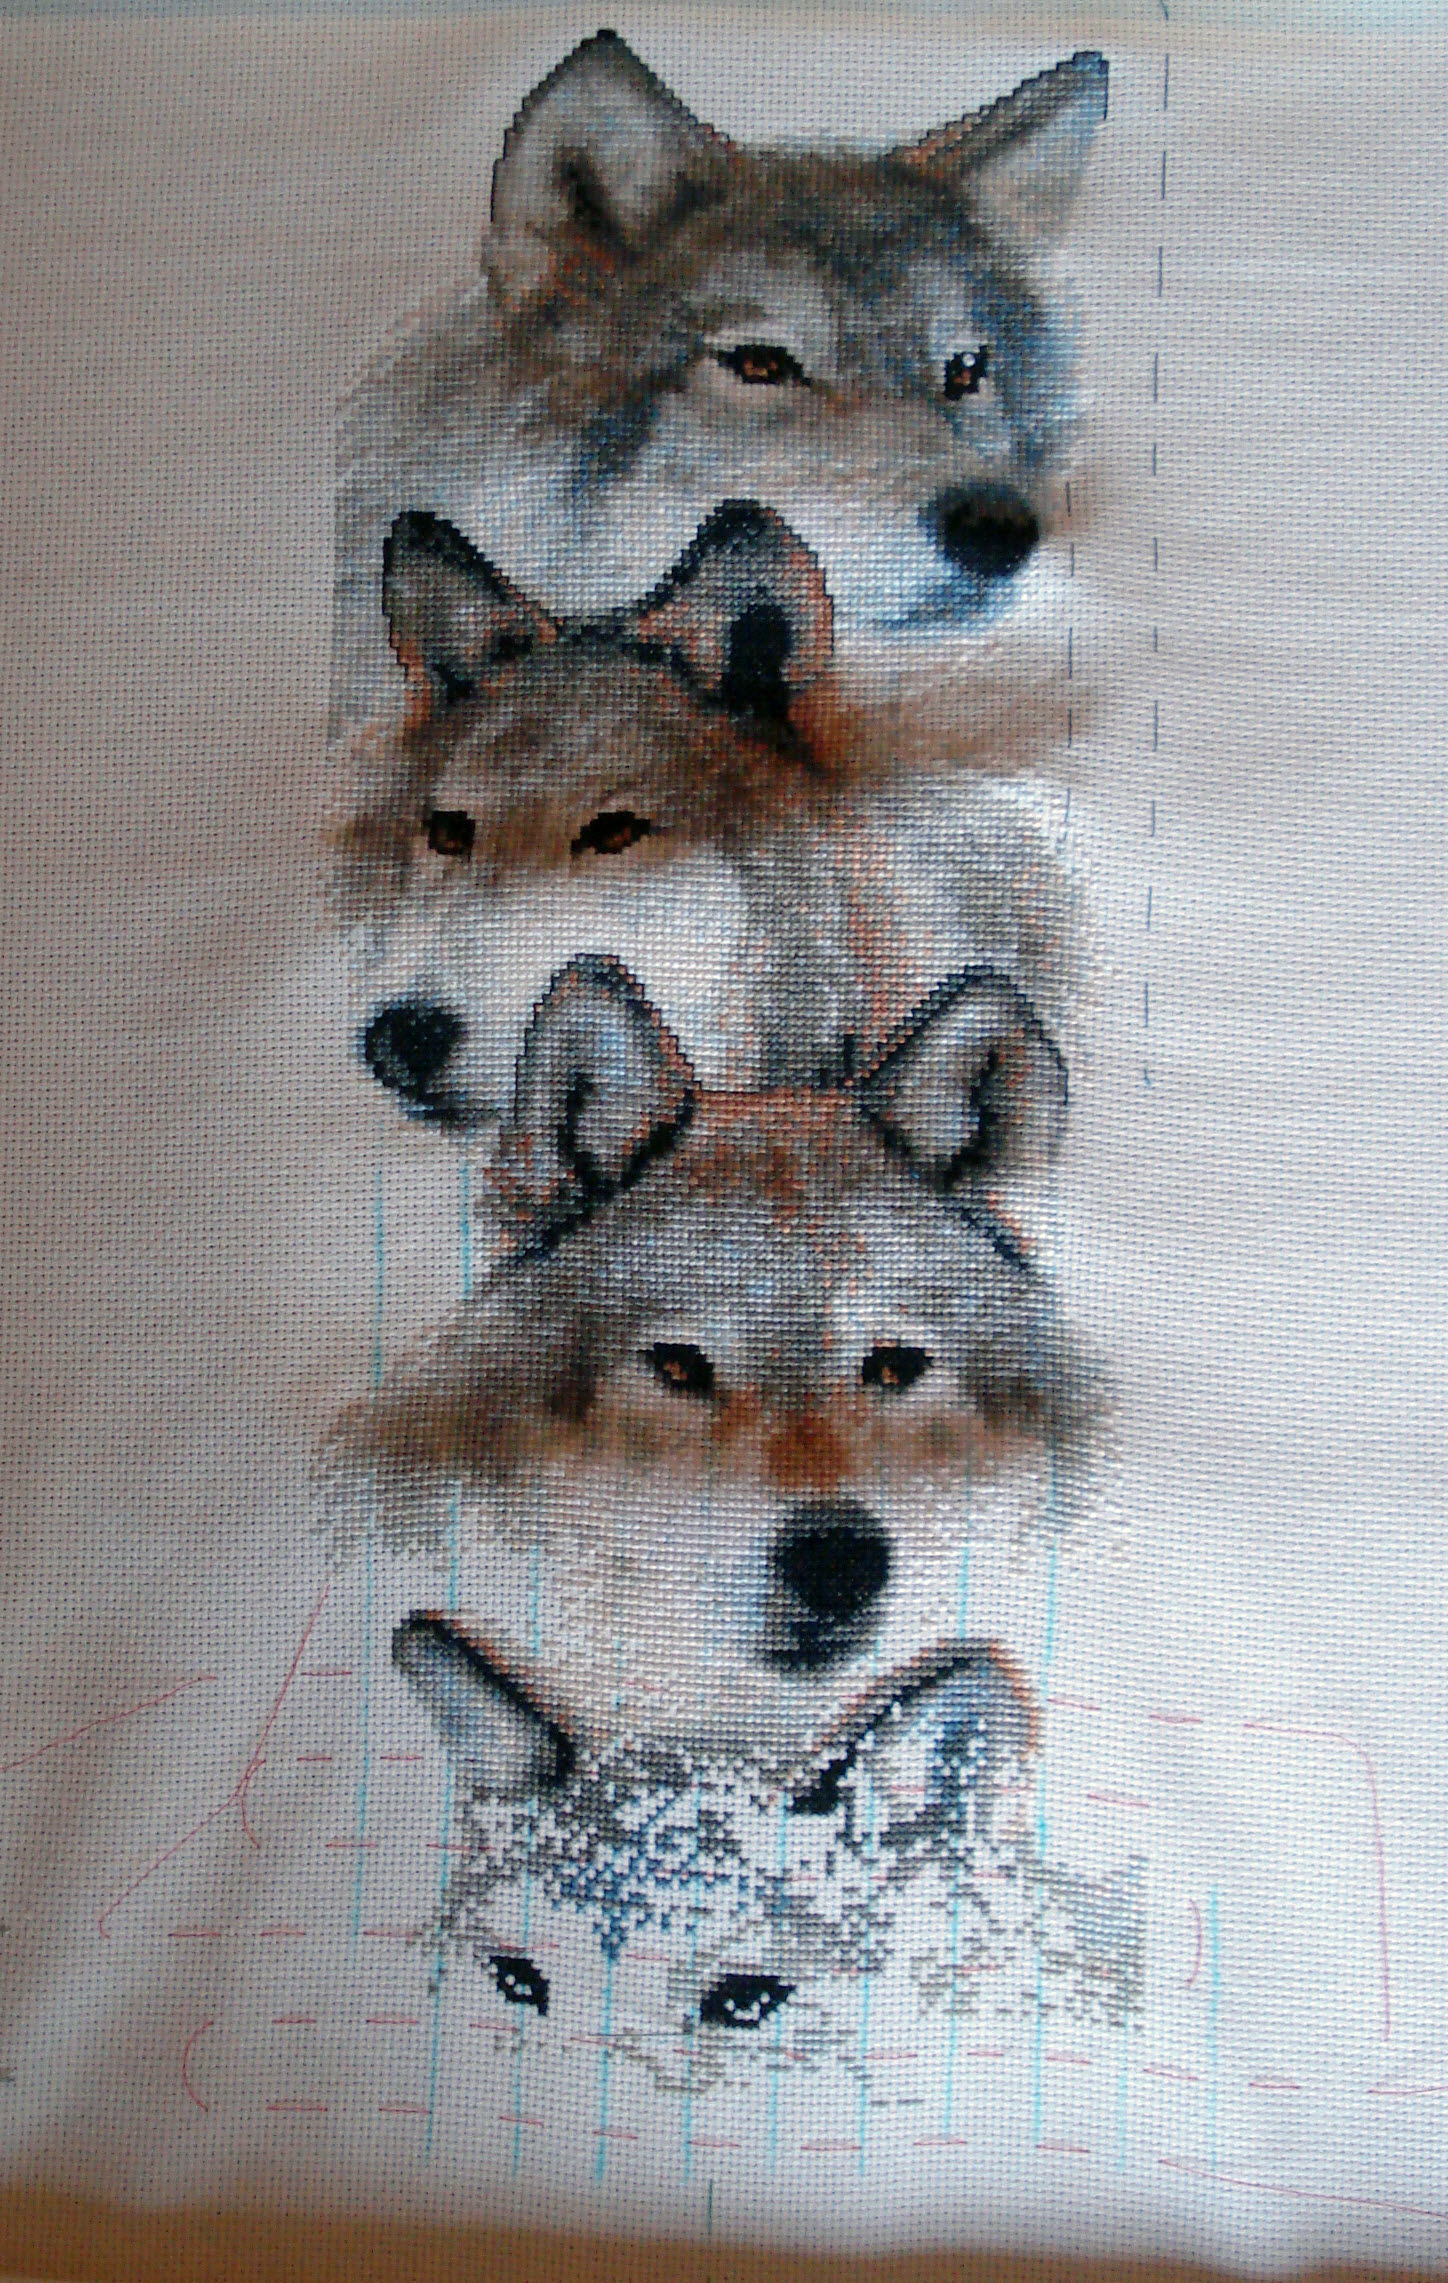
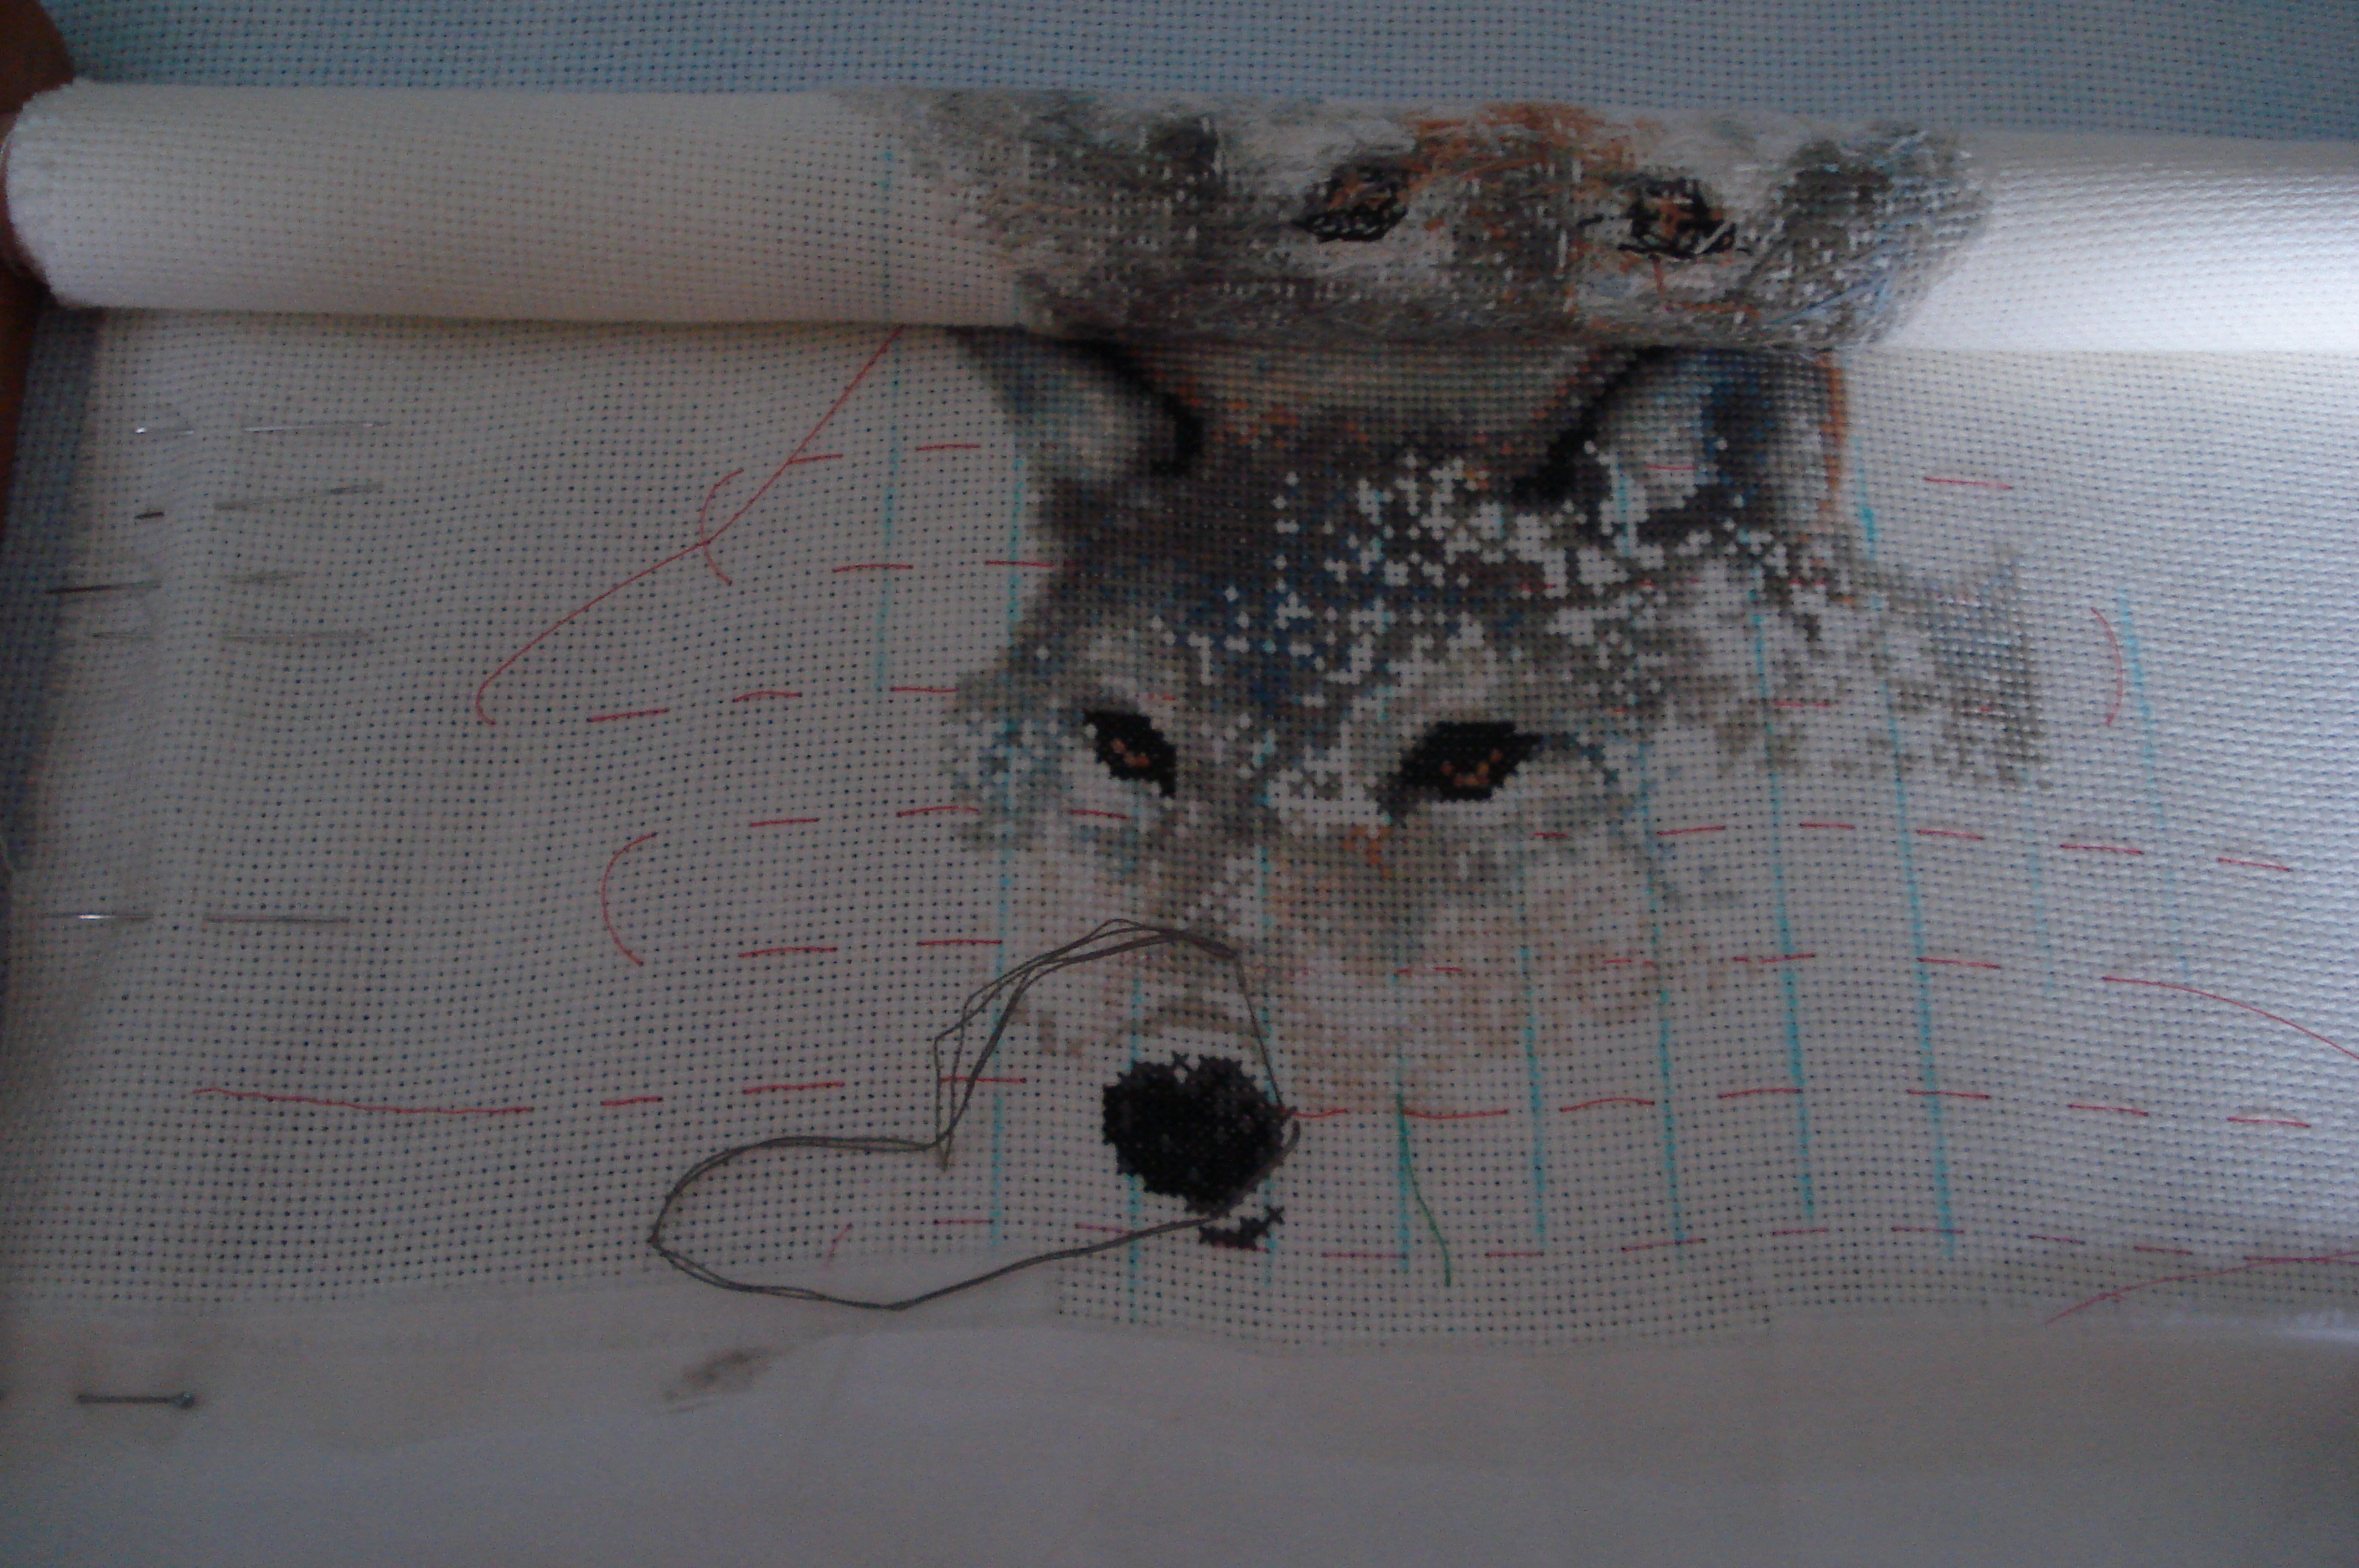
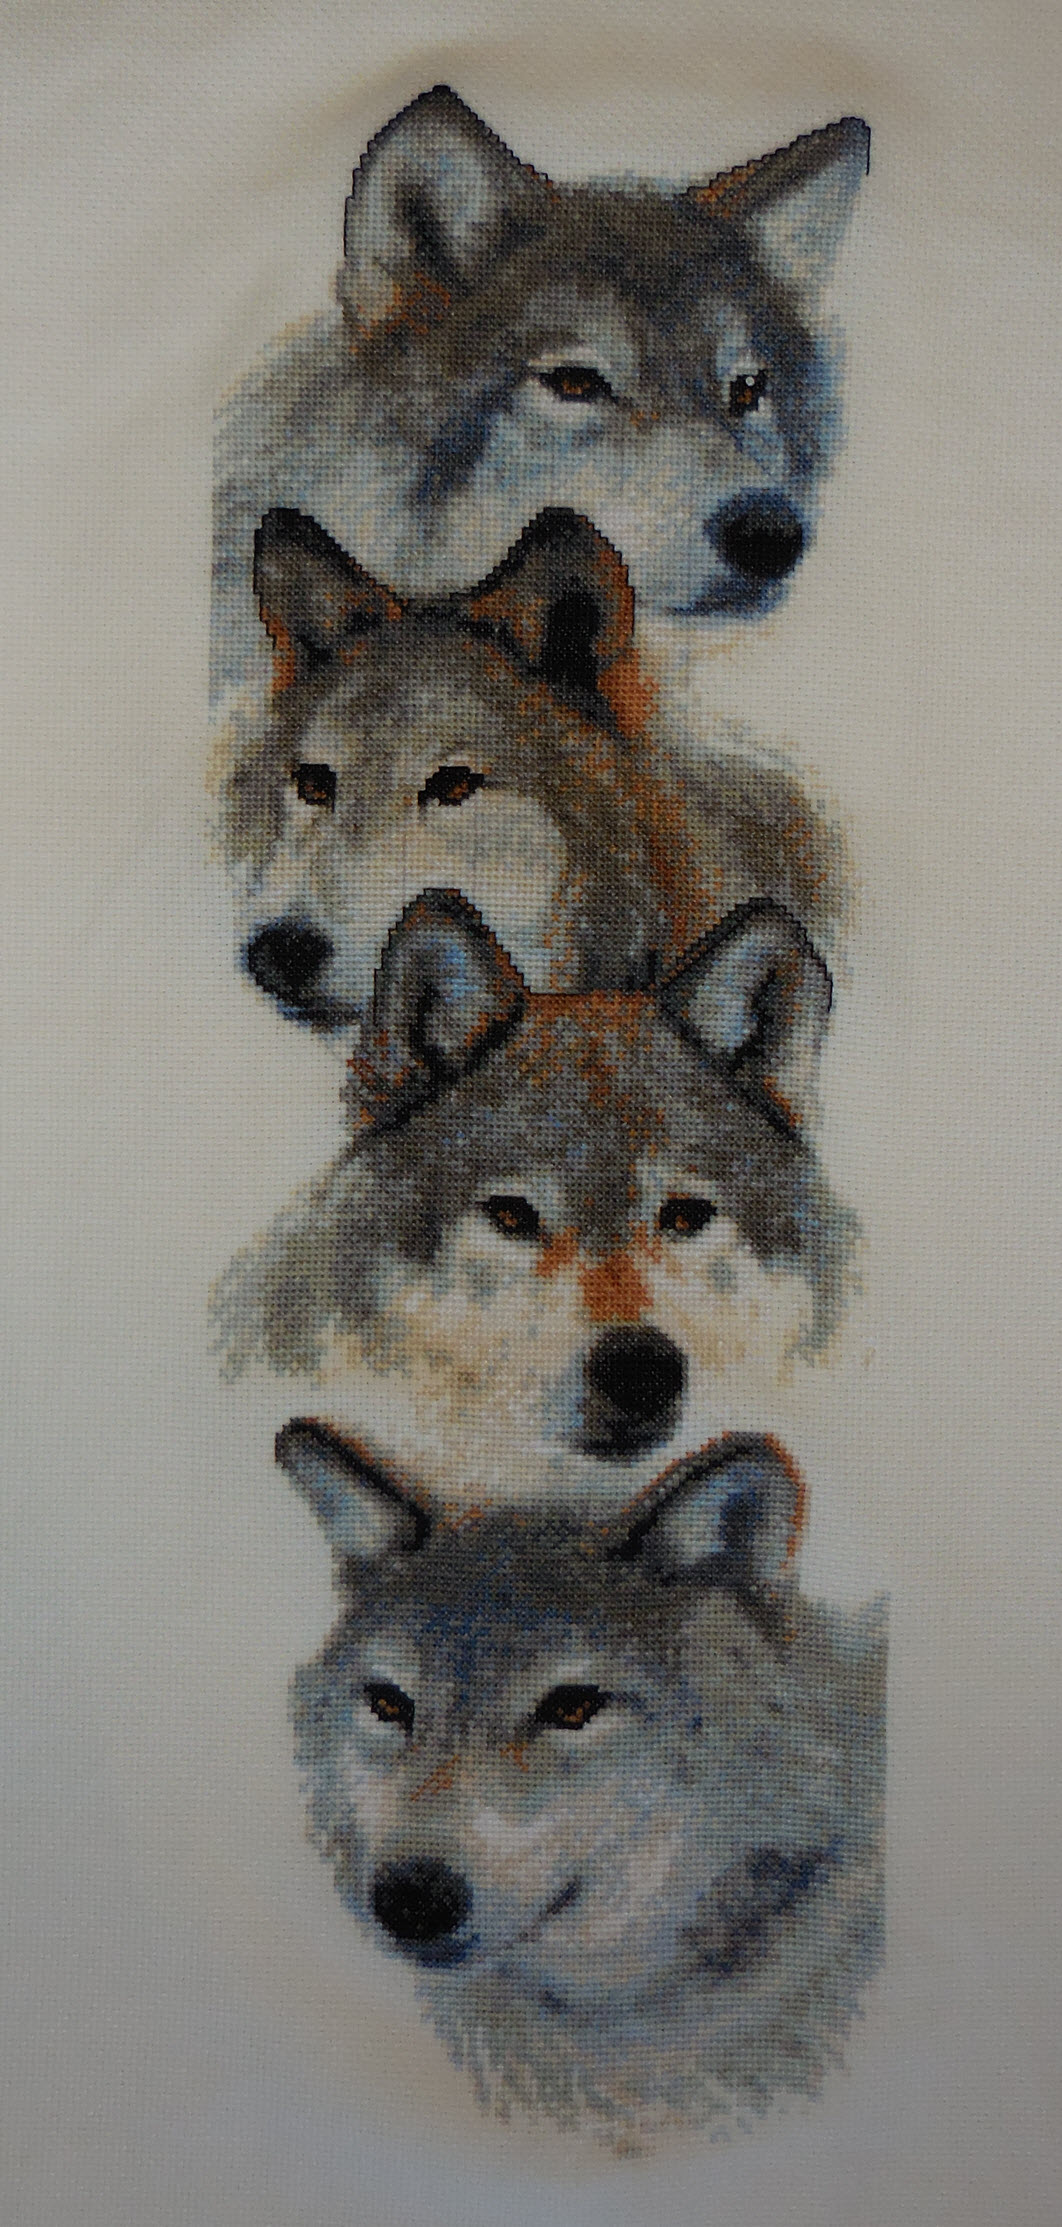
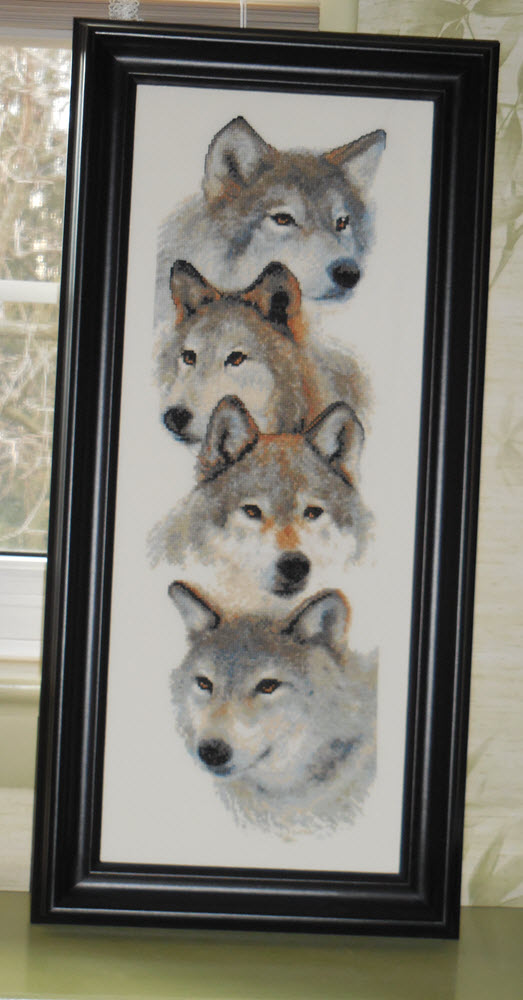
I decided to grid my fabric for this project but found it was much harder doing this on 28 count fabric versus 14 count Aida which I had previously done for the Wolf Pack I was stitching for my son. The holes are so much smaller!
The fabric is ready, the charts have arrived so now I am waiting for the floss so that I can add this project to my rotation. This is what the finished project should look like when completed.
 .
.
The project is actually three separate pieces stitched horizontally as one piece. I am looking forward to working with this new floss. You can read more about working with the Sampler thread.
I’ll be posting pictures as the project progresses so come back to visit often.
March 15, 2014 – The last of the floss for this project just arrived so it is now time to begin. I’m going to check with folks on the 123Stitch Message Board wants to join me in a SAL.
NOTE: Besides the recommended floss, you will need one additional skein each of Manor Red, Piney Woods, Endive, Maple Syrup.

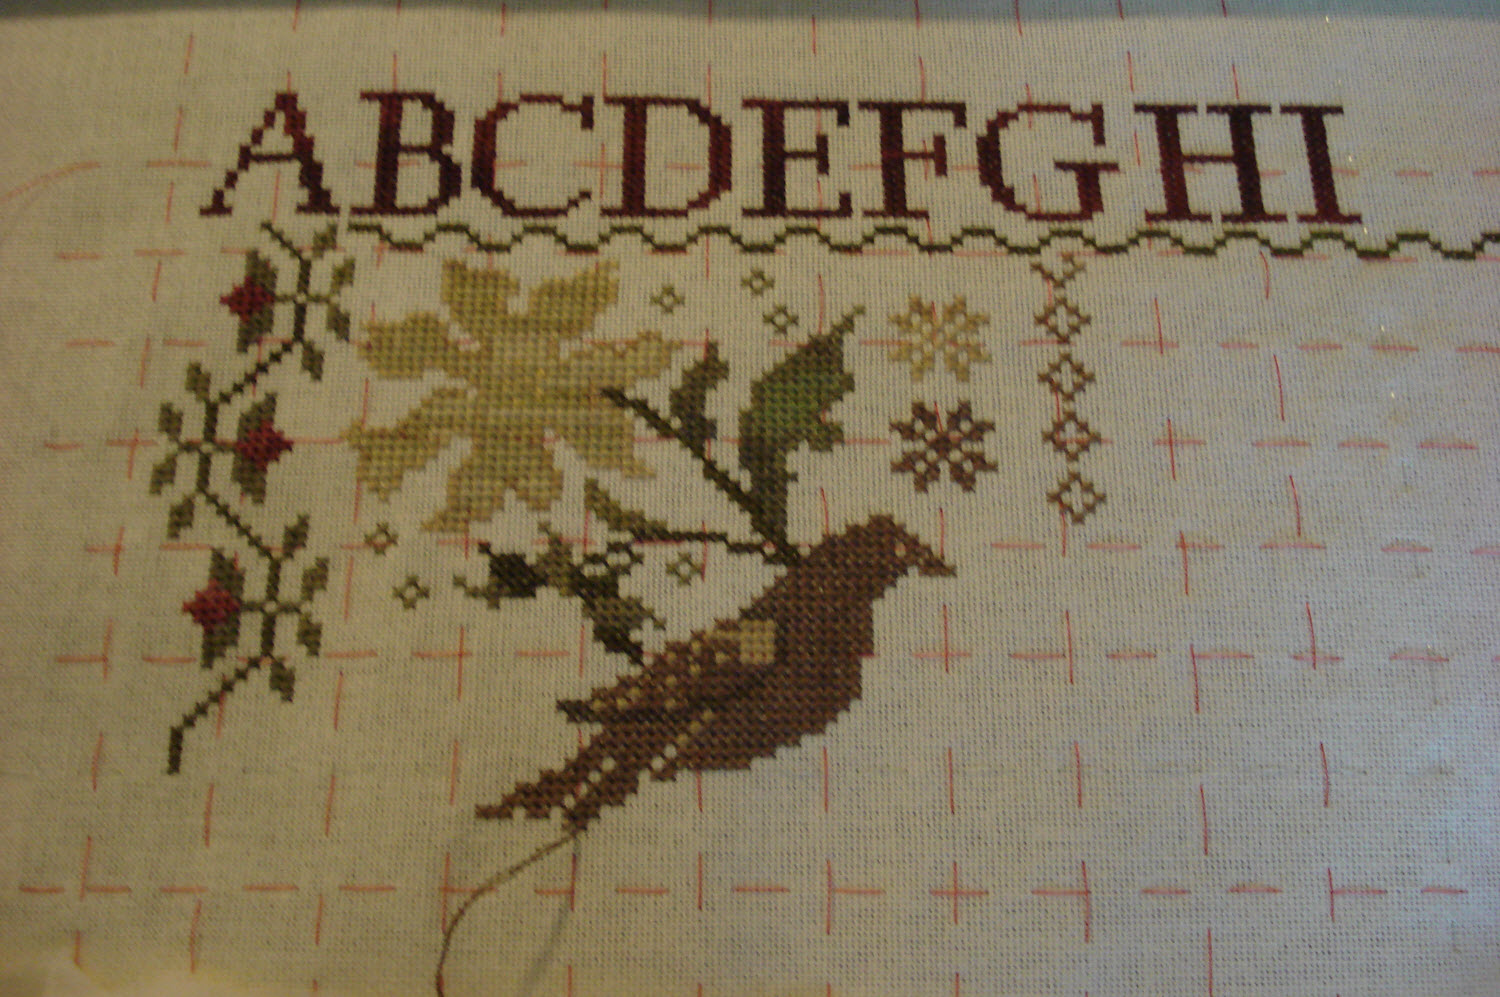
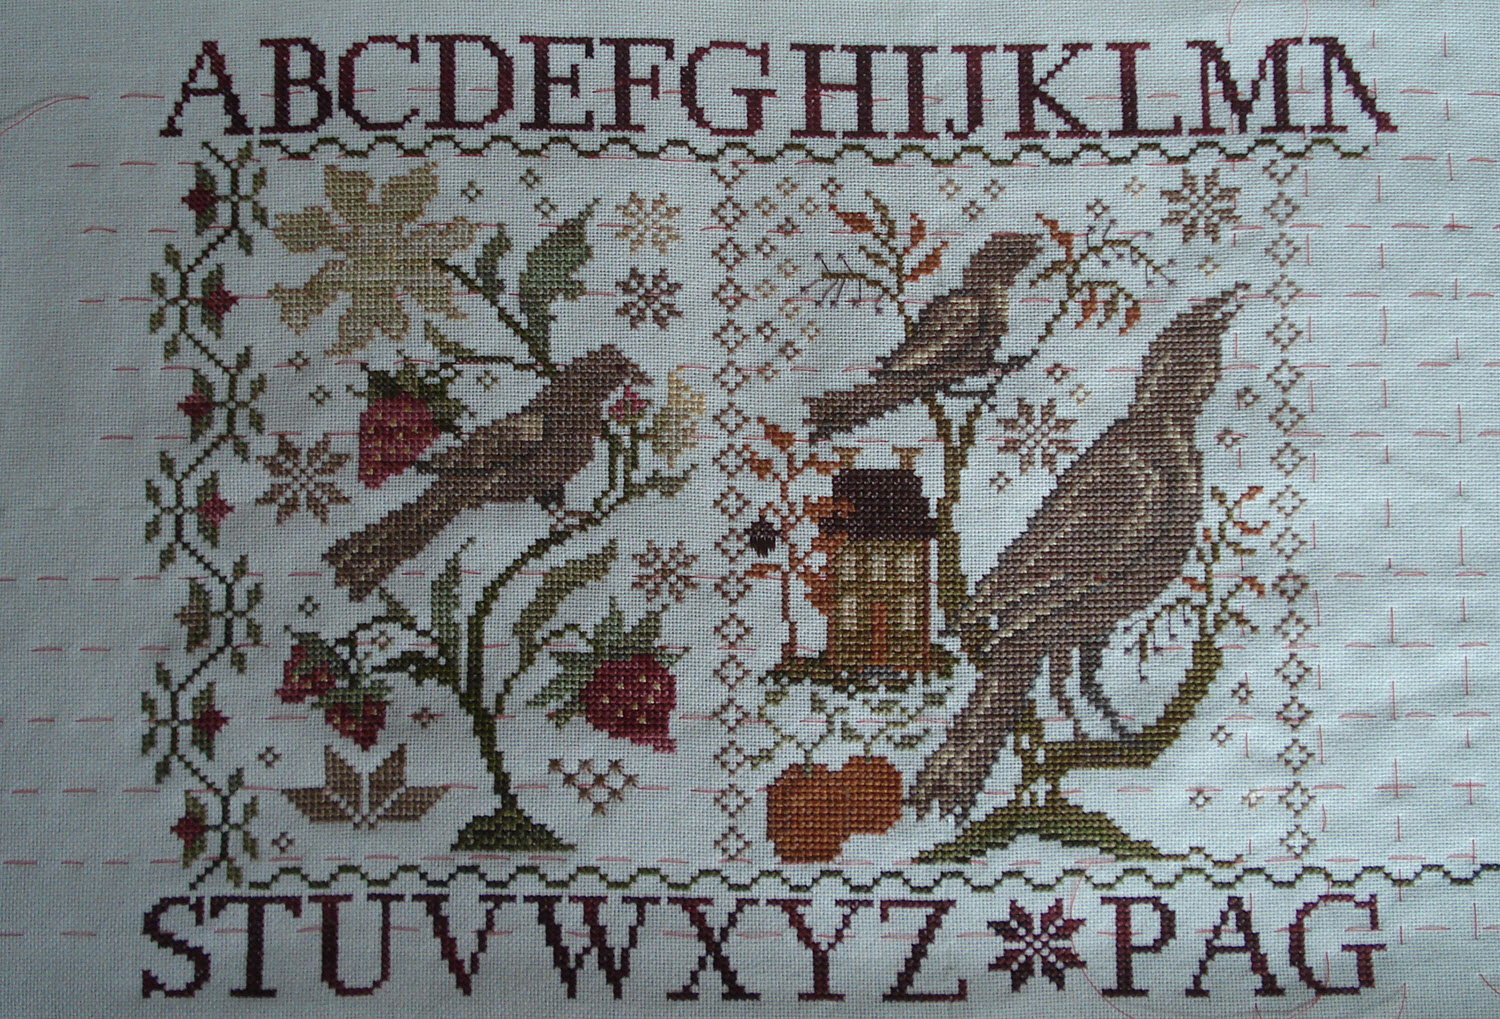
Loose Feathers – Summer – Progress as of 3/28/2014
Loose Feathers Progress 4-18-2014
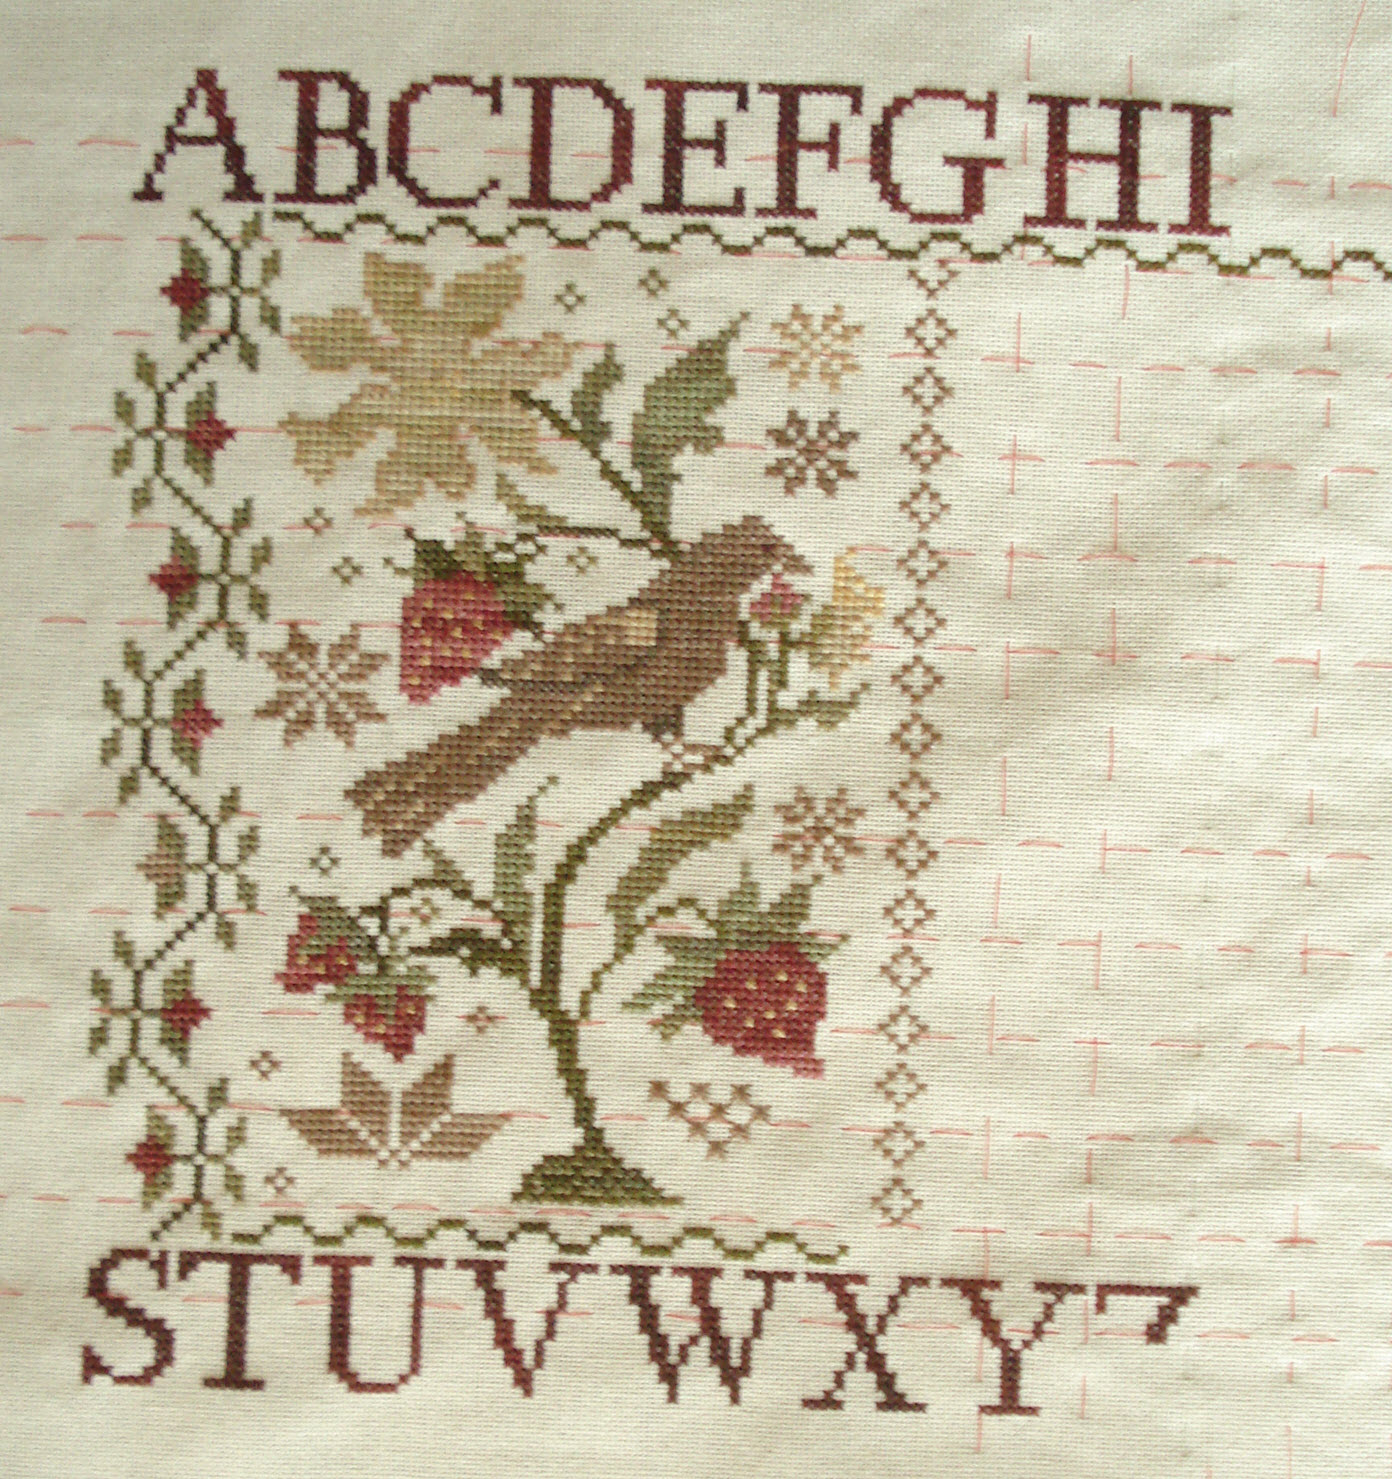
Progress as of May 2, 2914
Blackbird Designs – Loose Feathers 5-2-2014
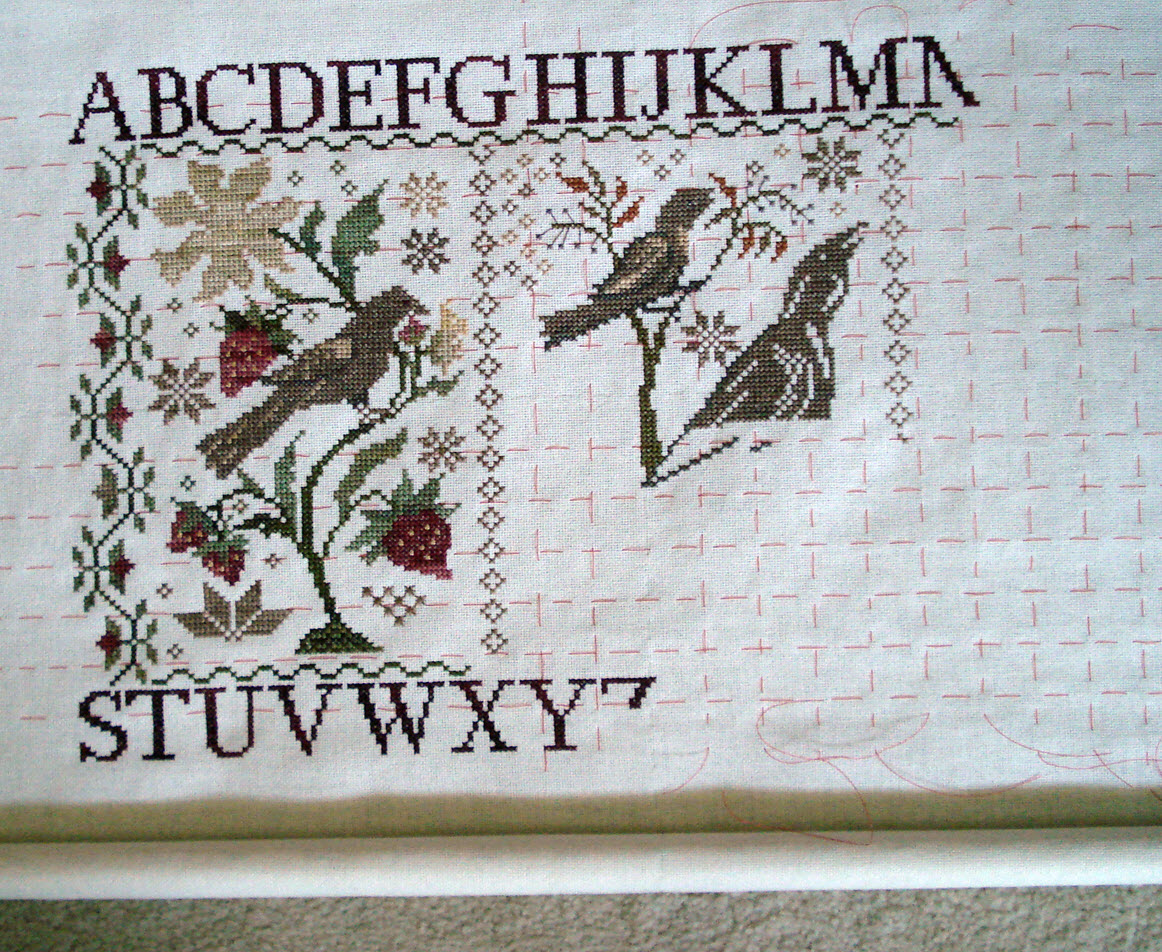
Progress as of May 24, 2014
Blackbird Designs – Loose Feathers – Progress May 24 2014
Progress on May 30 2014
Blackbird Designs Loose Feathers as of May 30 2014.
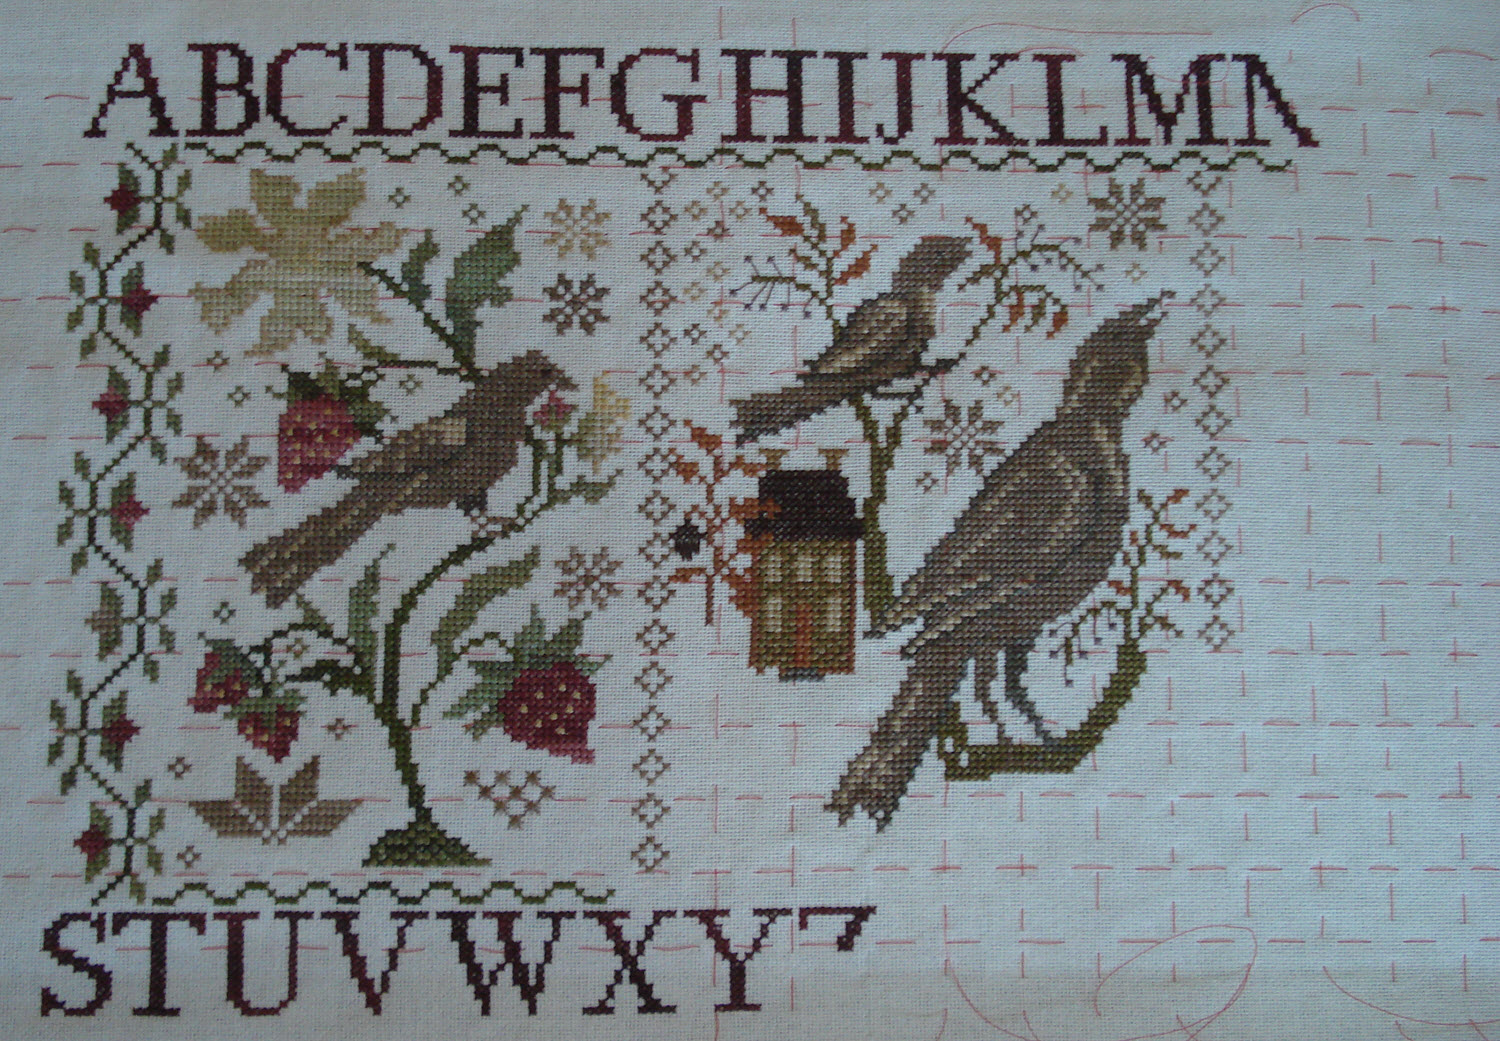
Progress July 6, 2014
Unfortunately, I ran out of GAST Piney Woods so progress has stopped until my next order from 123Stitch arrives. Not much left to go.

Blackbird Designs Loose Feathers as of 7-6-2014
Finished: July 11, 2014
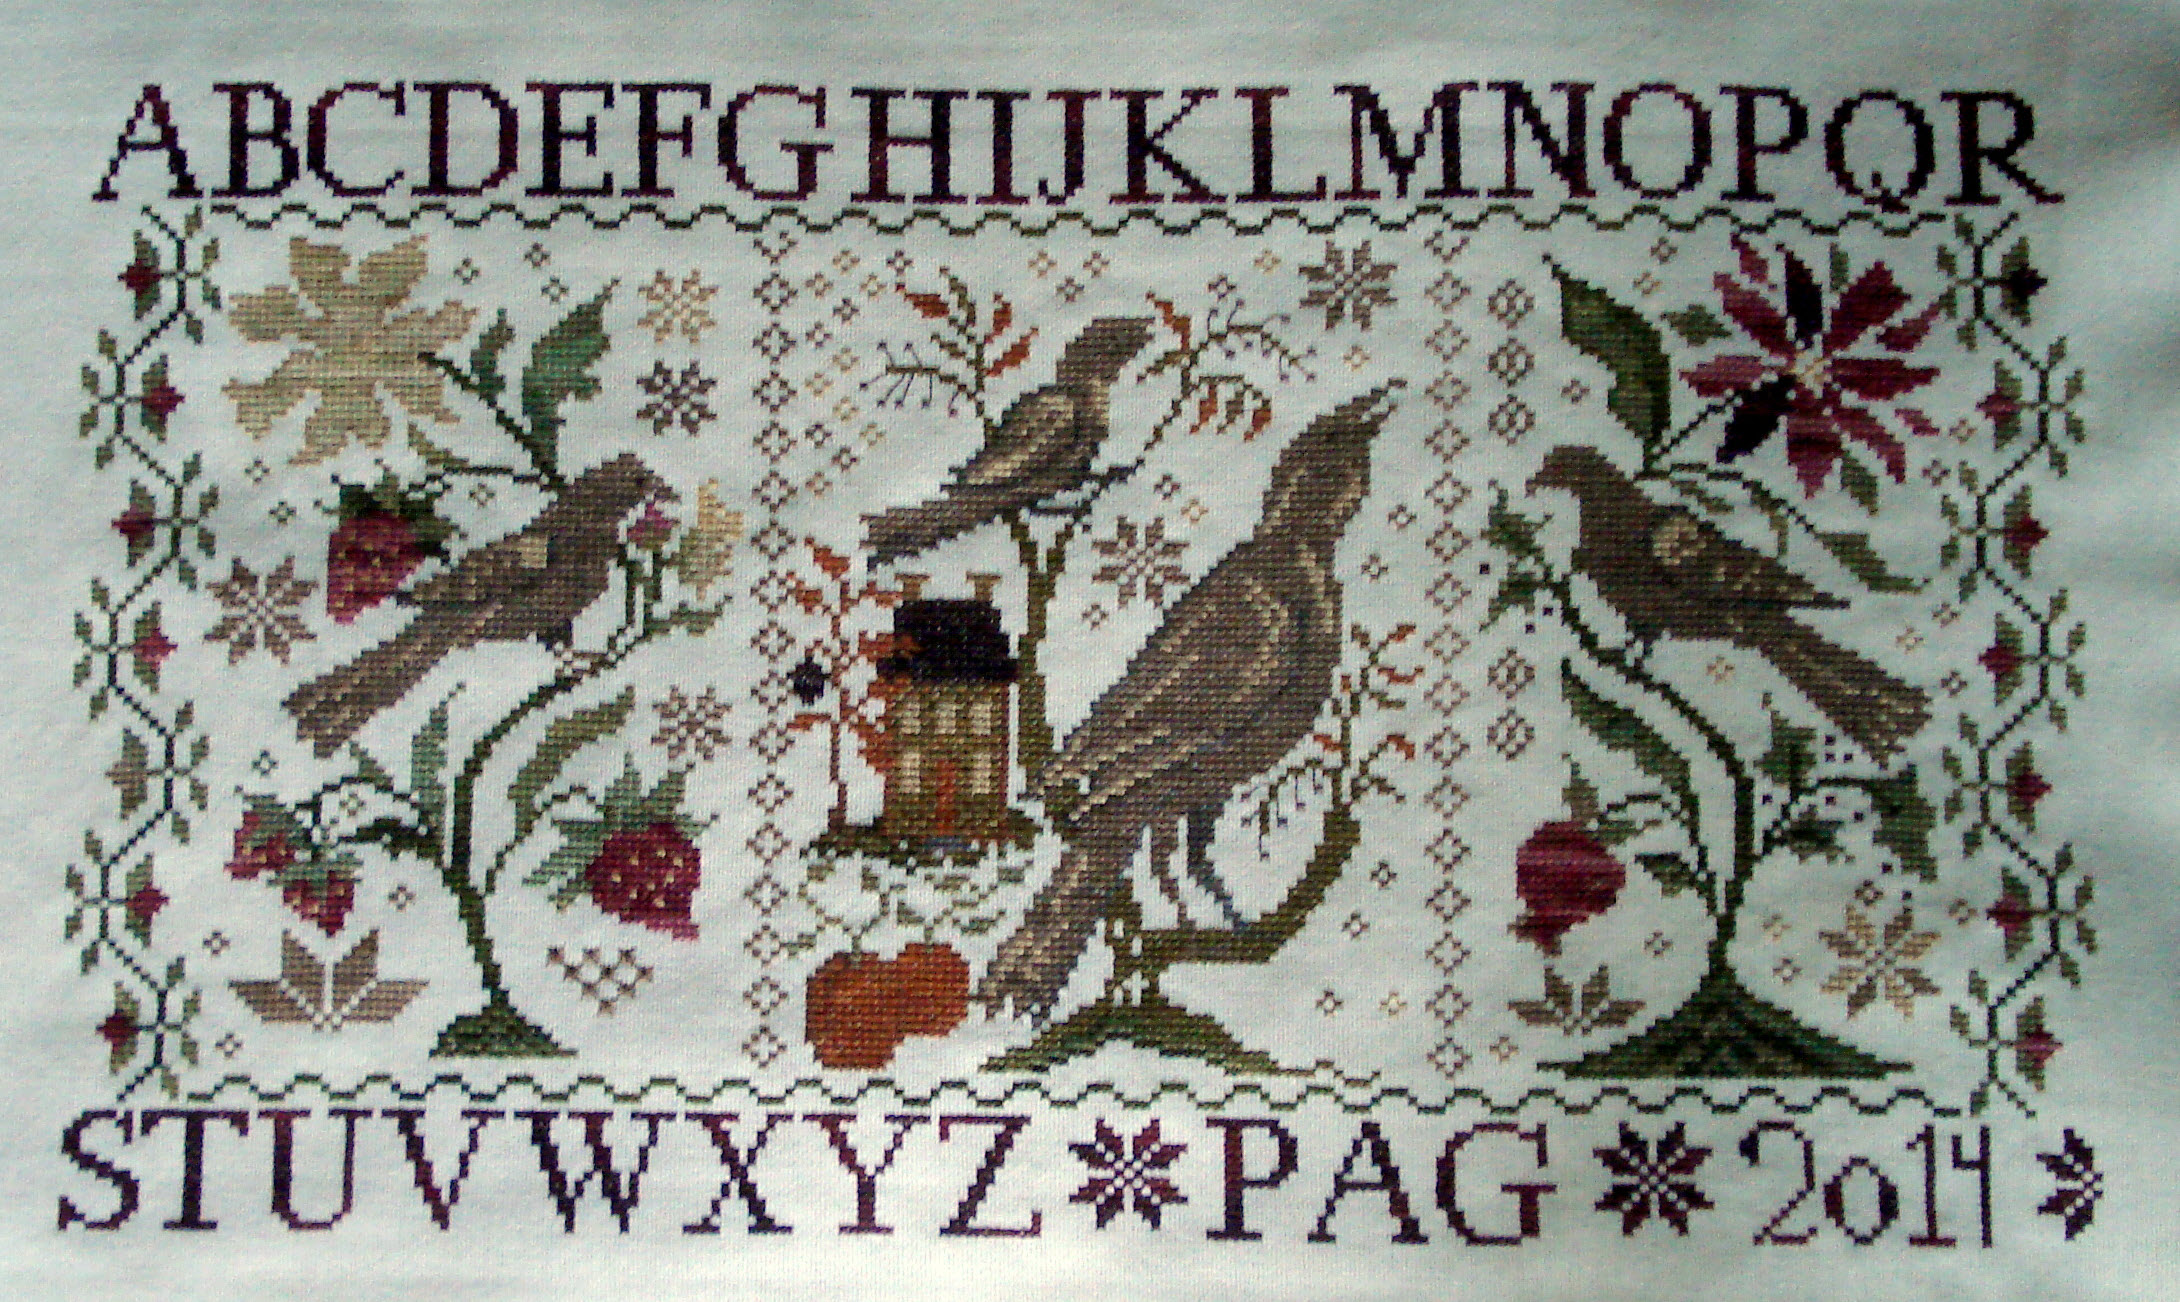
Blackbird Designs Loose Feathers finished stitching
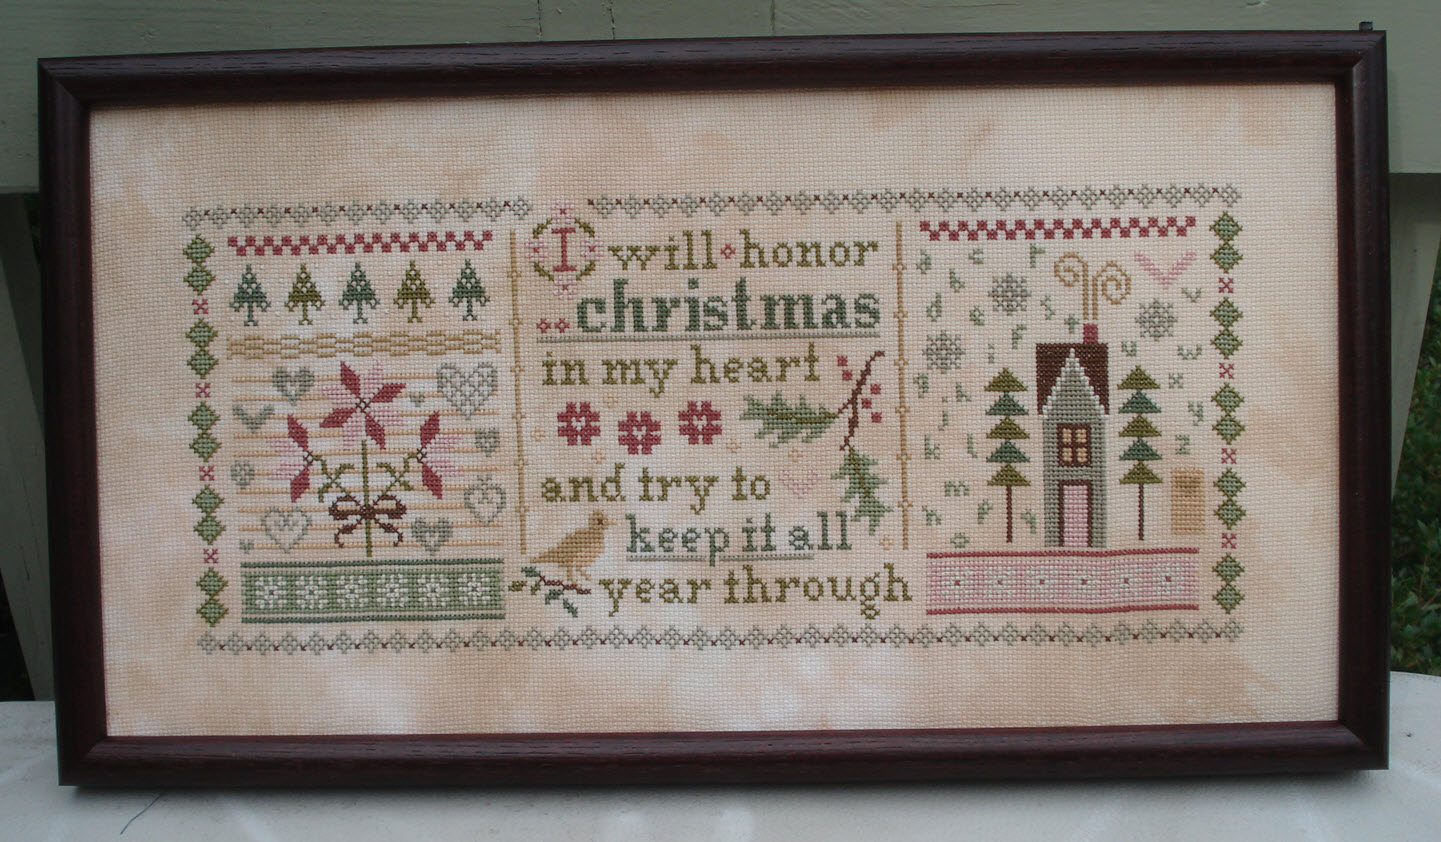
The frame I ordered arrived today and I could not wait to see how it would look. The piece still needs to be stretched and laced and I need to order the glass but am very happy with it. And the best thing is the frame was on sale for $18.96 (60% off) with an additional 25% off for the weekend.

Blackbird Designs Loose Feathers Framed
Frame: EWC6 – Deep mahogany, eco-friendly frame with a classic profile. (19 3/4″ x 12 1/2″)


