Quite often in the various cross stitch forums, the question comes up on how to convert a photo to cross stitch. The one that is recommended most often – and is free – is PIC 2 PAT
In three simple steps you will transform a picture into a beautiful cross stitch chart. The chart can be downloaded to your computer where you can print and store it. If you want to print the pattern again at a later date, there is no need to go to the website again, because the design is stored on locally on your computer.
So let’s get started.
Step 1: Select the photo you want to use. Pic 2 Pat can process almost all image formats. The maximum file size is 4 MB. By pressing the Browse button, you can browse through your pictures (on your computer) to find the correct file. For this example, I am going to use a color photo of my husband taken on his 100th birthday.
Click the Next button and your image will be loaded to the server.
Step 2: Pic 2 Pat can generate cross stitch patterns from a few inches to several feet. Select your preferences for the brand of the floss you want to use (DMC, Anchor, Madeira, or Venus), the stitch count, and the desired size.
I chose DMC, 16 stitches per inch, and 5.7 by 8 inches. Click the next button.
Step 3: After pressing the Next button, Pic 2 Pat will show you a number of cross stitch patterns. You can select the pattern which best matches your wishes. The pictures are shown with the most colors used first down to the least number of colors used. In the case of the above image, I was offered 20 some pictures to choose from. The first one used 79 different colors, the last one used only 6 colors. I selected the one that used 79 colors.
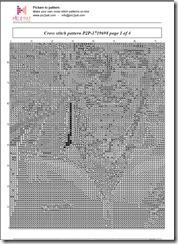
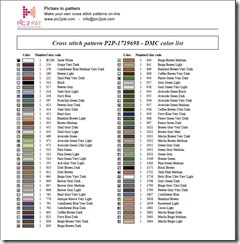
You will be given the opportunity to save the chart to your computer. The chart will include a color picture, the actual chart, and the color list of floss you will need.

The color picture converted to cross stitch

The actual chart for stitching
All that is left is to select your fabric, gather your threads and begin stitching. Check out PIC 2 PAT and give it a try.

